Minimal Wall Clock
 |
Parts:
|
Tools:
|
We have all had moments when we were staring at a wall considering decor and one of the choices is what wall clock would look good in a particular spot. I had recently redesigned my dining room, and with the floors, table, doors, shelves, art, curtains, and such figured out…the clock choice remained.
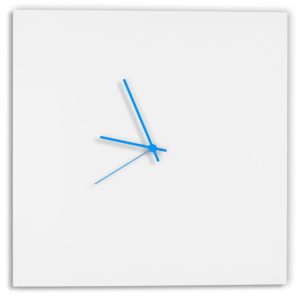
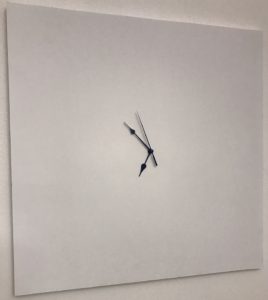
Want to talk about a lucrative industry…the wall clock market is a good place to start. These things are very cheap to manufacture. Throw some simple design around a plastic Chinese quartz movement powered by a AA battery and boom you’ve got a $100 wall clock, manufactured at a very small fraction of the price. I was looking for a minimalist design and shades of blue feature strongly in the dining room, so I was after something like this.
Thanks to Amazon we had the $74 clock a few days later. Looks good in a picture, and I’m sure many of these clocks have arrived in OK condition, but ours did not. The packaging had not done its job, so the hands had been hit at some point and were bent down toward the white surface and due to the cheap metal used for the hands, grey marks remained on the surface (even after cleaning) and the hands were never going to look straight again. So, we shipped it back for the refund, and the wall remained empty.
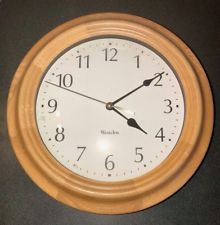
Now, most people likely have some cheap wall clocks laying around the house, and I am no exception. I had just replaced an upstairs wall clock with a much nicer one, so I was left with this. A cheap $10 wall clock that would normally be relegated to the basement, dump, or Salvation Army.
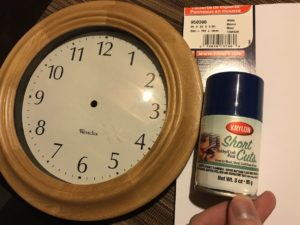
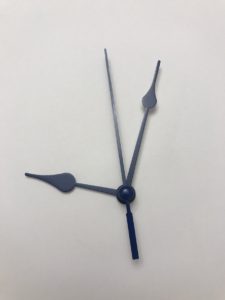
So, I decided to create my own minimalist clock using the movement and hands from the cheap spare. Four small screws on the reverse of the spare clock and the frame comes apart. With careful and minimal effort the hands simply pop off with the help of a screwdriver. I then took a trip to a local craft store and purchased a 20x30in white foam board and a small can of blue spray paint.
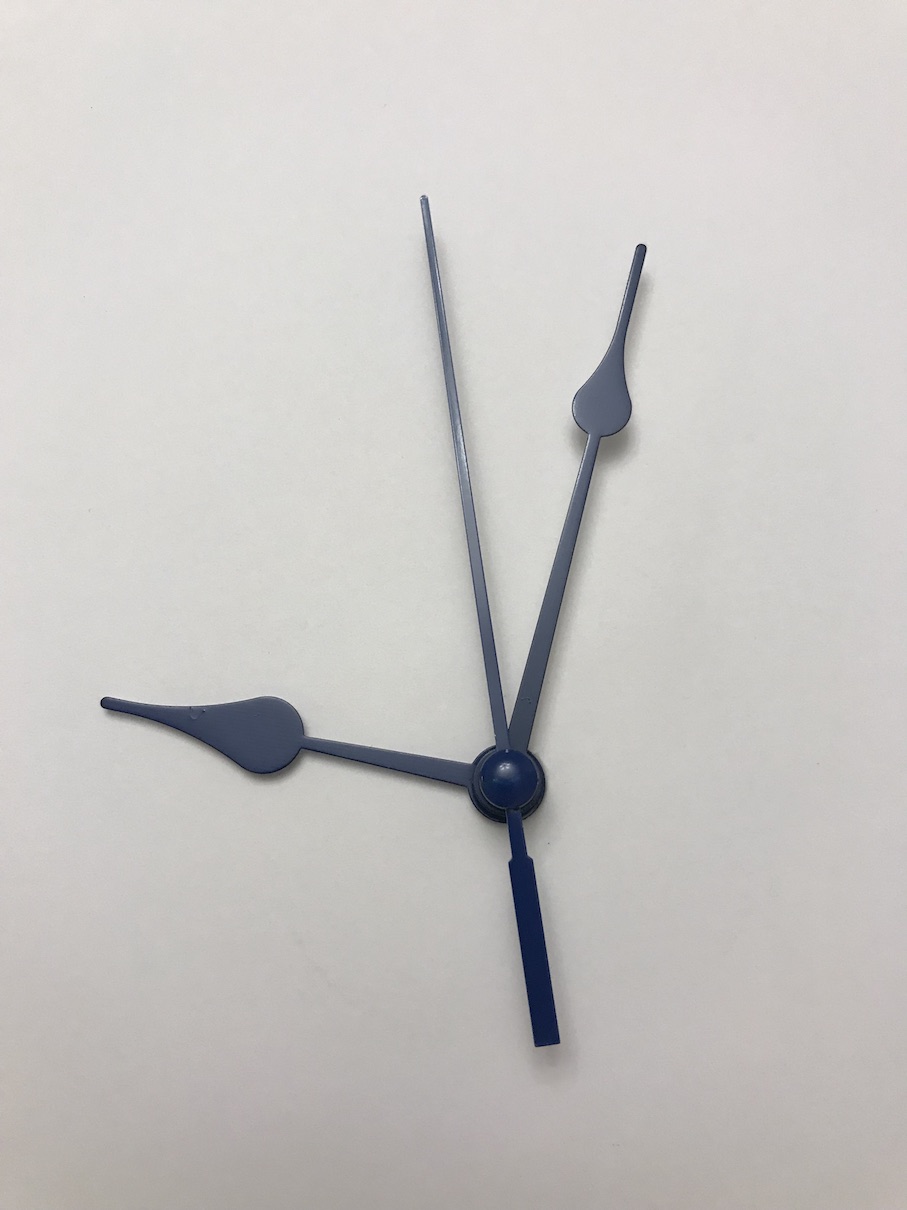
I painted the hands a medium blue and set them aside to dry. Then, I measured and cut the foam board to 20x20in using a utility knife. The good part is that I only needed to cut one side (the top) so although it’s not as perfect as the factory cuts on the other three sides, it is close and on the top side, so all around it looks good and mostly out of sight.
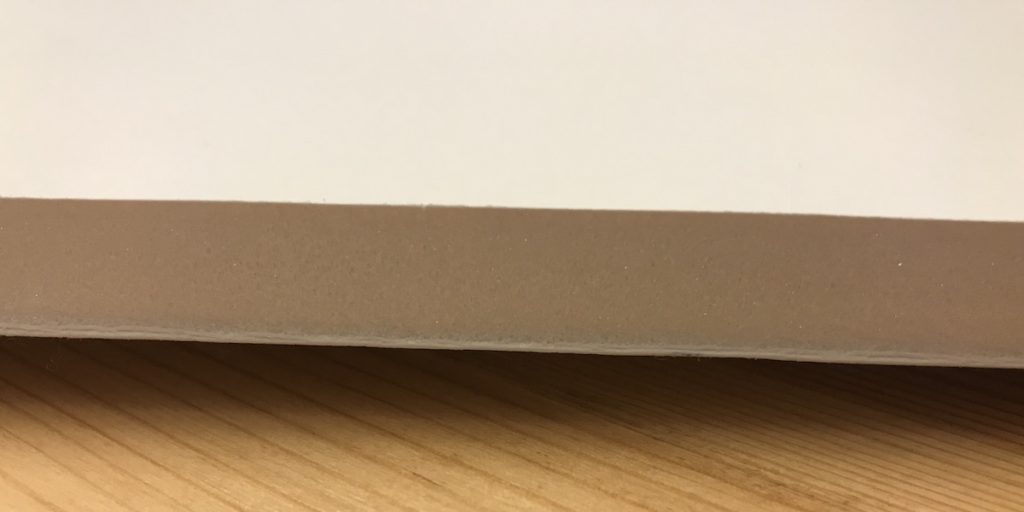
The foam board I purchased (http://elmers.com/product/detail/950398) is a layer of foam between two thin layers of thick paper/thin cardboard material. The original minimalist clock pictured earlier was a thin, solid board material, probably some sort of plastic that was only a few millimeters thick, and had a glossy surface. The foam board is 1/2″ thick and a matte surface.
I measured to the center of the 20x20in square and, with the movement in the center, traced with a pencil. I also punched a hole (from front to back) through the exact center for the movement arm to stick through. I started with a small nail and then worked my way up to the diameter of the pencil. Then with a combination of the utility knife, tweezers, fingers, and patience, I removed the foam all the way to the white board on the other side. There were still a few foam scraps, but minimal. The surface is fairly thin so I took a lot of time and care to make sure I didn’t poke any holes.
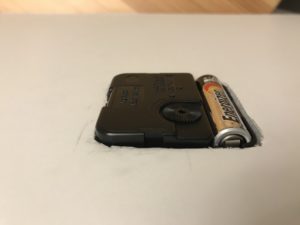
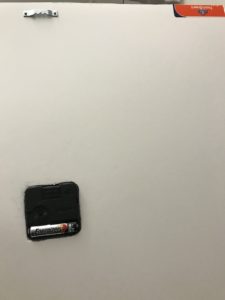
Next, I took double-sided tape and applied it to the movement and pressed it into the square hole.
The typical movement in cheap wall clocks is encased in black plastic and will be somewhere between 1/2″ and 1″ and so in my project it was not flush, but extends just beyond the back surface. This is perfectly fine since it is against the wall and the wall hanger will be about the same height from the surface.
Attach the wall hanger by pushing in a couple mini nails.
Reattach the hands. They easily push back into place, just align them all pointing at 12.

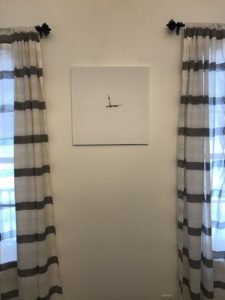
Hang clock. Get compliments.
A fun feature is that you can change the hand color any time you want with a quick spray of paint.
