Testing Waterslide Decals
Testing processes and materials is important when making dials. A series of tests I recently undertook involved figuring out a consistent process for applying waterslide decals to dials, testing color prints, and how a variety of dial components handled the baking step required when making dials with film-free decals.
In this article, you will find videos, along with descriptions of what was tested, and the results.
Products Used (Affiliate Links)
- Printer (Brother HL-L3210CW): https://amzn.to/3cCSGYj
- Micro Set & Micro Sol: https://amzn.to/3krV0Cm
- Waterslide Decal Sunnyscopa Type B: https://amzn.to/3fB3mVA
- Tweezer Set: https://amzn.to/2HnHDVH
A Waterslide Decal Process That Works!
 In my first video testing waterslide decals for dial making (https://youtu.be/mtwreFBs9ts), results were inconsistent. So I spent more time testing setting solutions Micro Set and Micro Sol and the results are very good! I go through the process twice: first with a test dial and decal, second with a good dial and decal.
https://youtu.be/hmEzygD6cRM
The Process
- Apply Micro Set to dial surface
- Soak decal in water for 30-60 seconds
- Apply decal to dial surface
- Apply Micro Set on decal surface
- Dry for 10-15 minutes
- Apply Micro Sol to decal surface
- Dry for 10-15 minutes
- Bake in oven for 20 minutes at 200-225f
- Let dial cool
- Carefully remove decal plastic
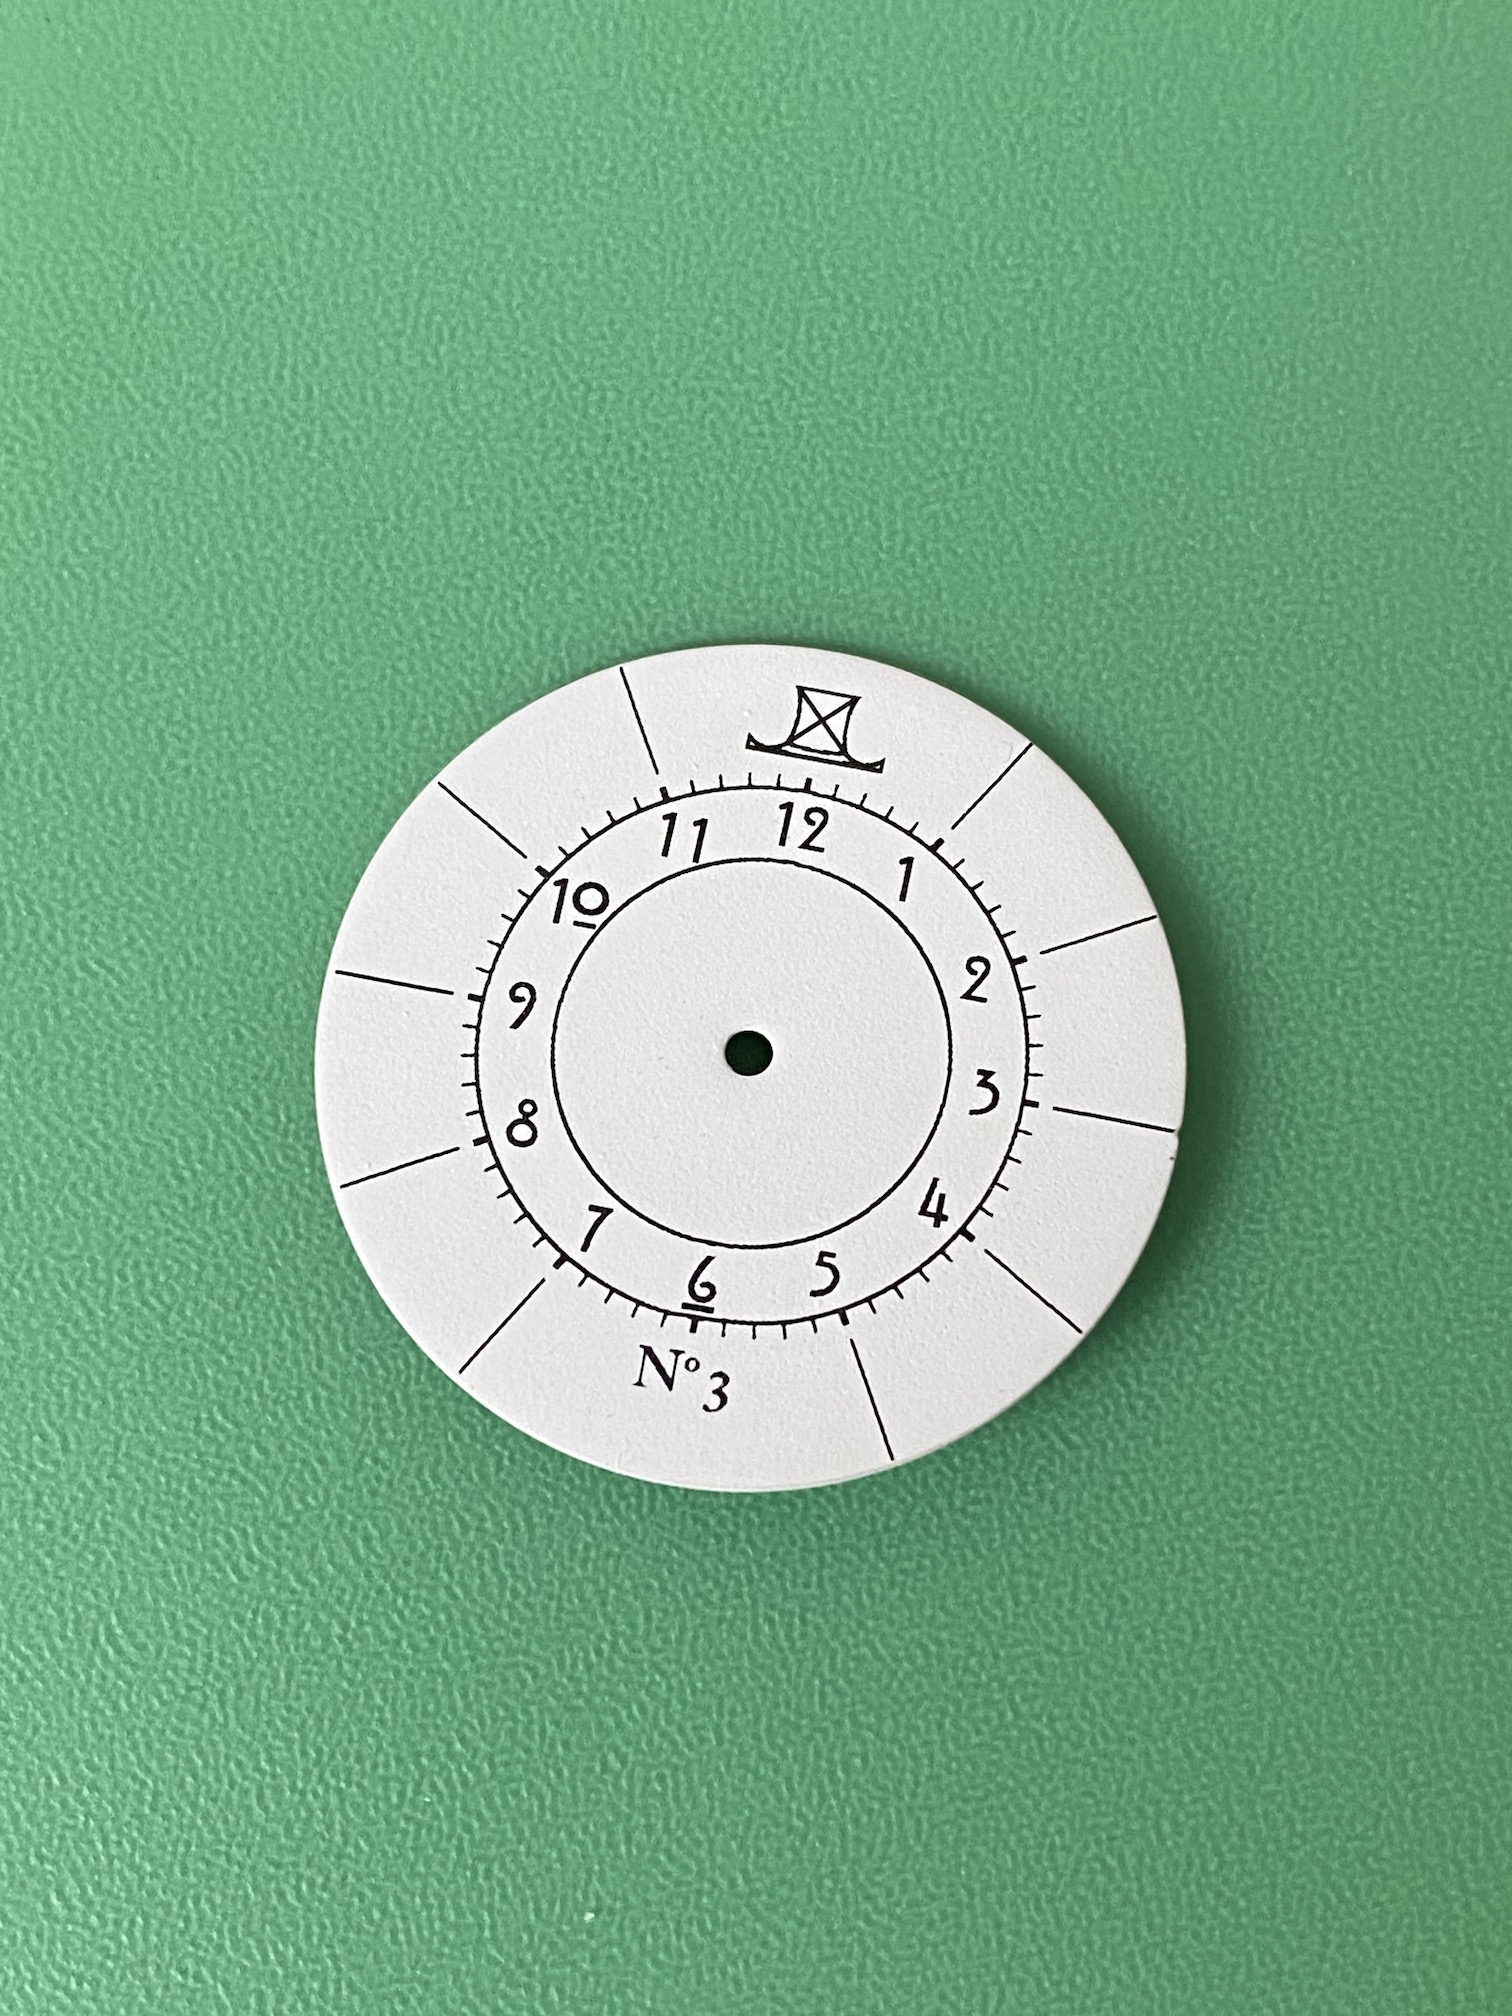
Color Testing
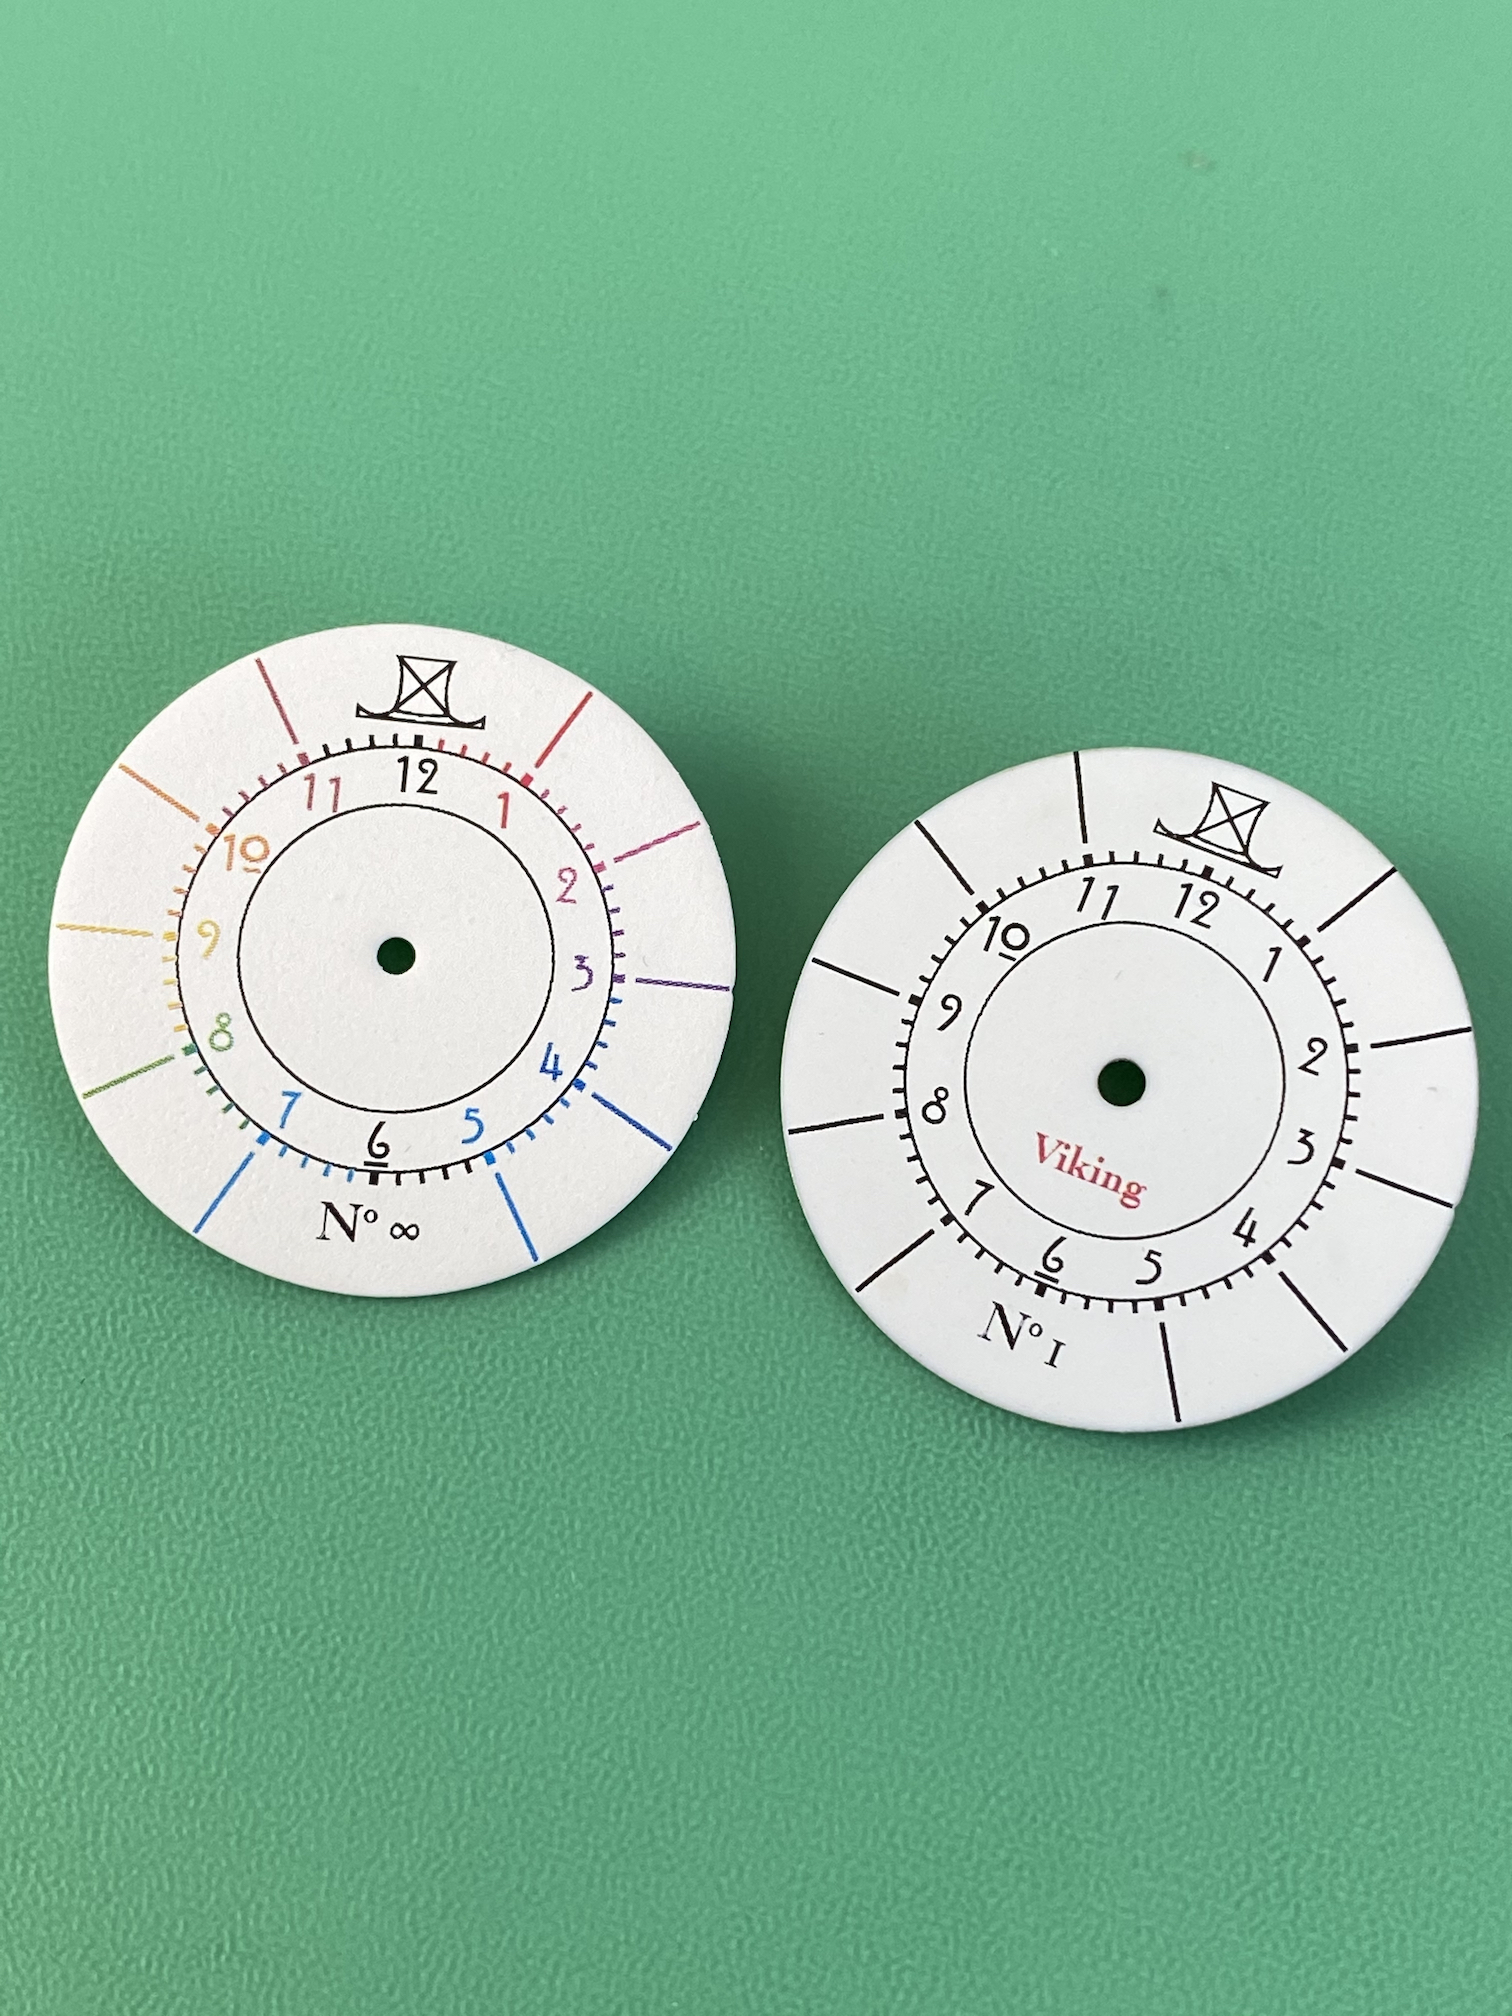
Building on my previous experiments of using waterslide decals to make custom dials, the next step was testing color. Though results will vary based on printer quality and color shades chosen, my results were quite good when following my process for apply decals to dials. I created a color wheel to test a variety of colors on the same dial and also tested a singular color for a model name on another dial.
https://youtu.be/2RLe2BeiD_s
Dial Component Testing
Applying waterslide decals to dials requires baking the dials in an oven. I wanted to know what might happen to indices, logos, ink, lume, and other dial components during that step. Watch to see the results.
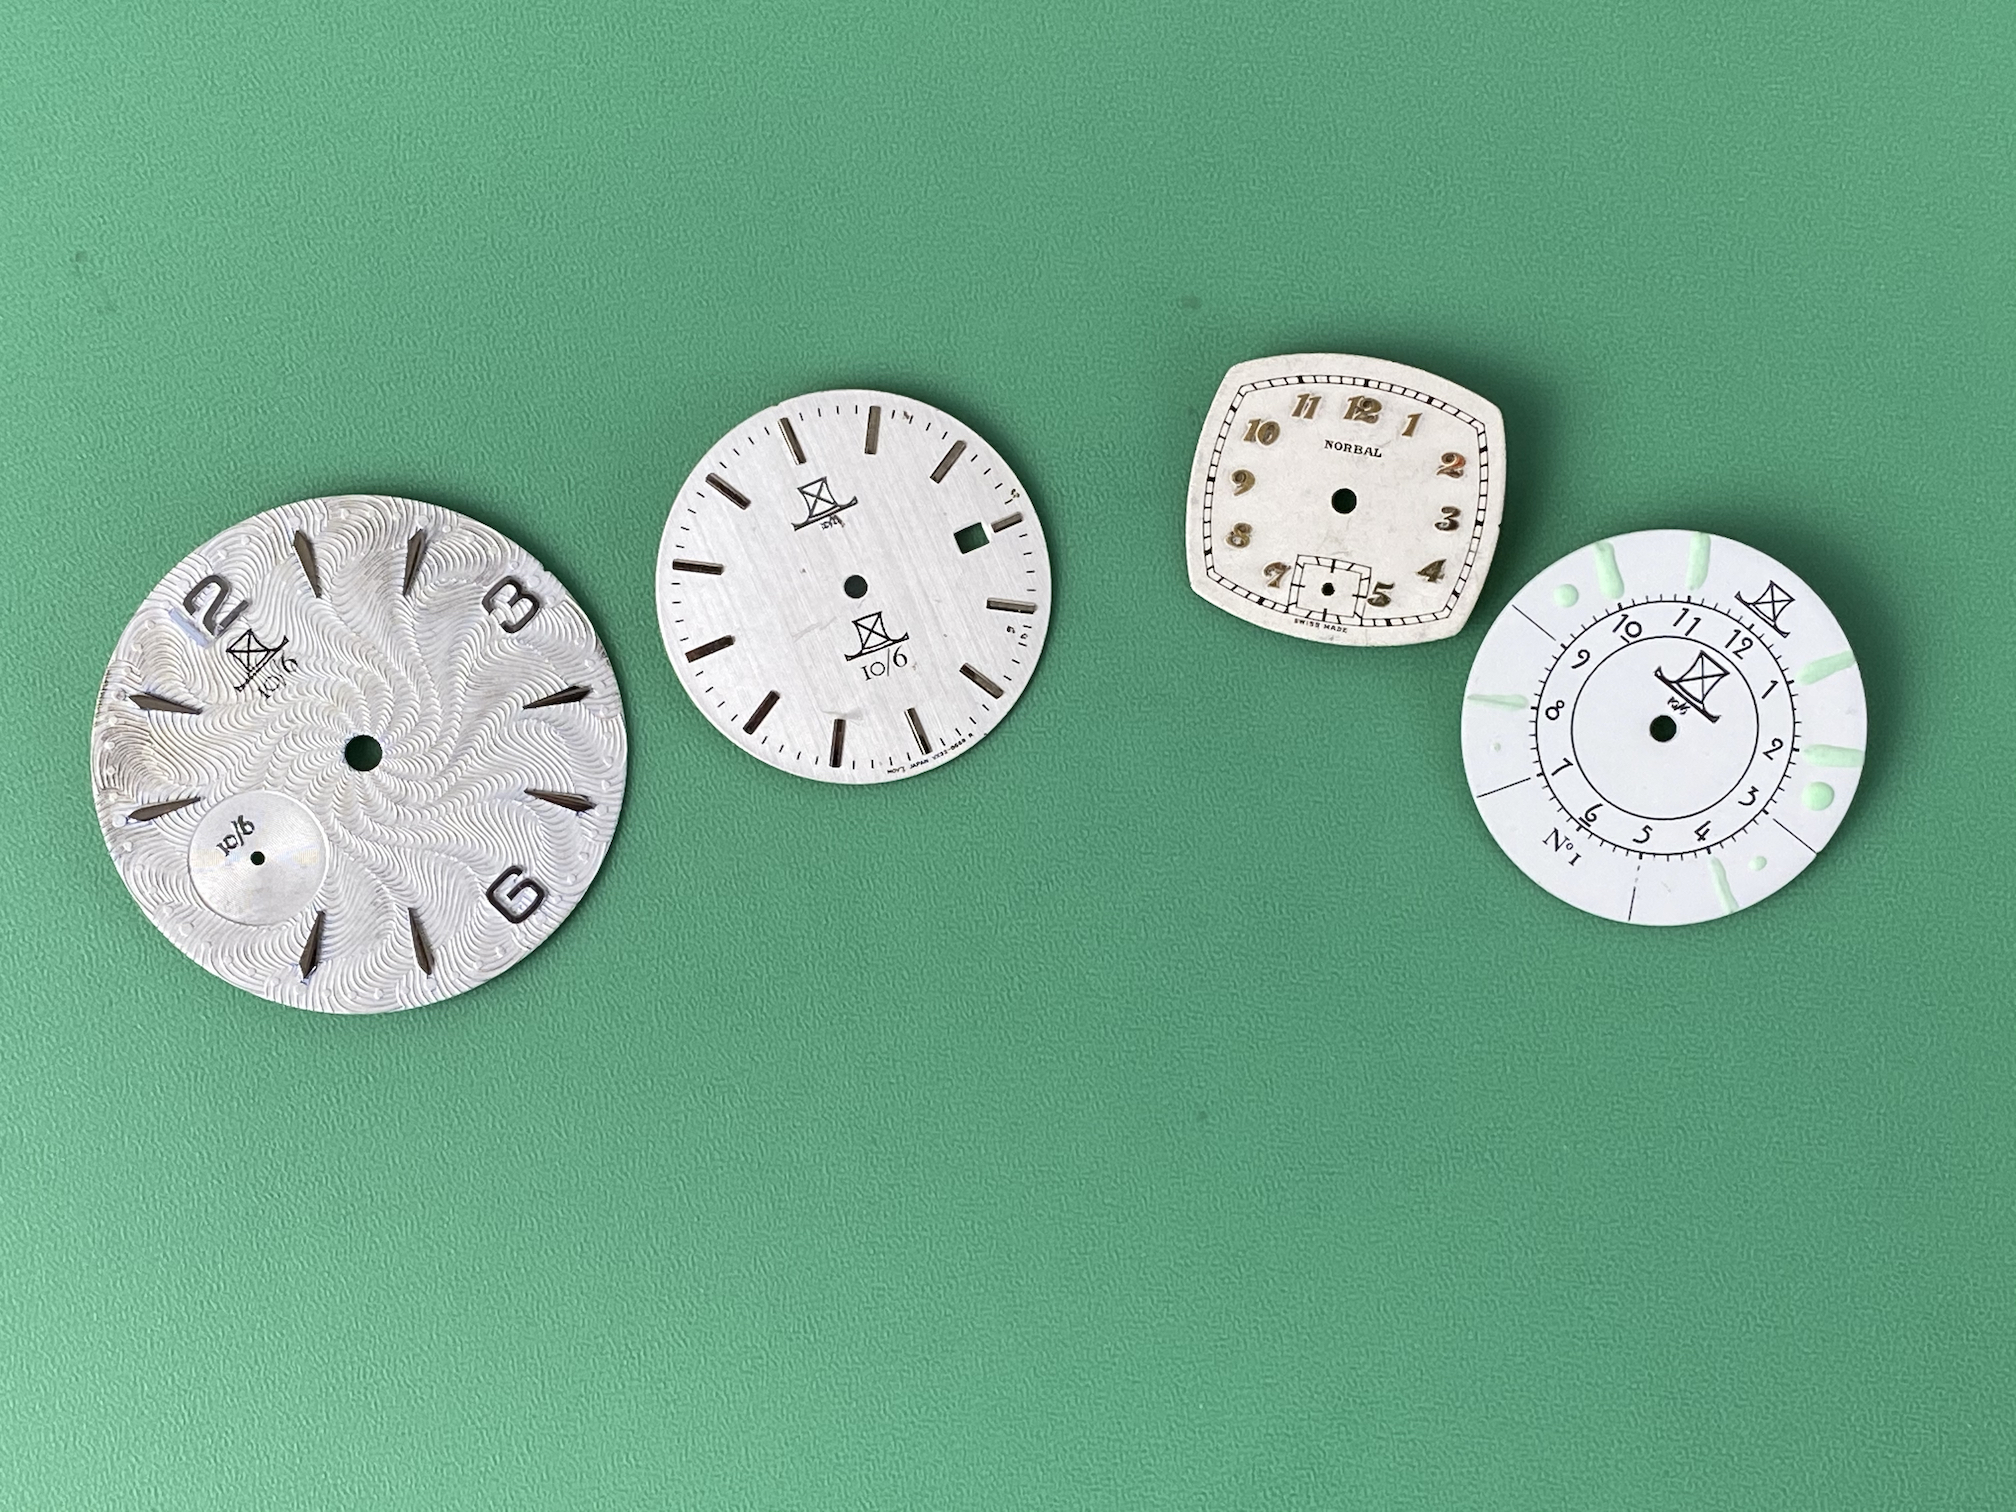
Test Dials
Dial 1: Metal dial, soldered indices, applied logo, waterslide logo
Dial 2: Guilloché dial, epoxy indices, applied numerals, applied logo (ridged), waterslide logo
Dial 3: Metal dial, old ink, applied indices (I think…)
Dial 4: Painted dial, lume, applied logo, laser printer ink (from decal)
Multi-layer Testing

Not long after posting this article, I tested if using multiple layers of decals provided any visual benefit. You do have to be careful to make sure the alignment is exact, and it did seem to add some visual depth to the color printing I tested. If you do apply multiple layers, I recommend printing the design at a different angle than the first layer (e.g., 45°), which may help smooth out edges.
https://youtu.be/s6-WAOx0pbM
Final Thoughts
I am glad to have a solid process for when I go the route of using a decal as part of a dial design. Color worked better than expected and I learned a lot with the component testing. Next up will be testing decals on pre-made and otherwise complete dials for a more finished look.
Testing all of these different aspects of this cost-effective way of making custom dials with decals takes a lot of time. If you are getting into watch modding, hopefully you will find this information helpful and save yourself some time.