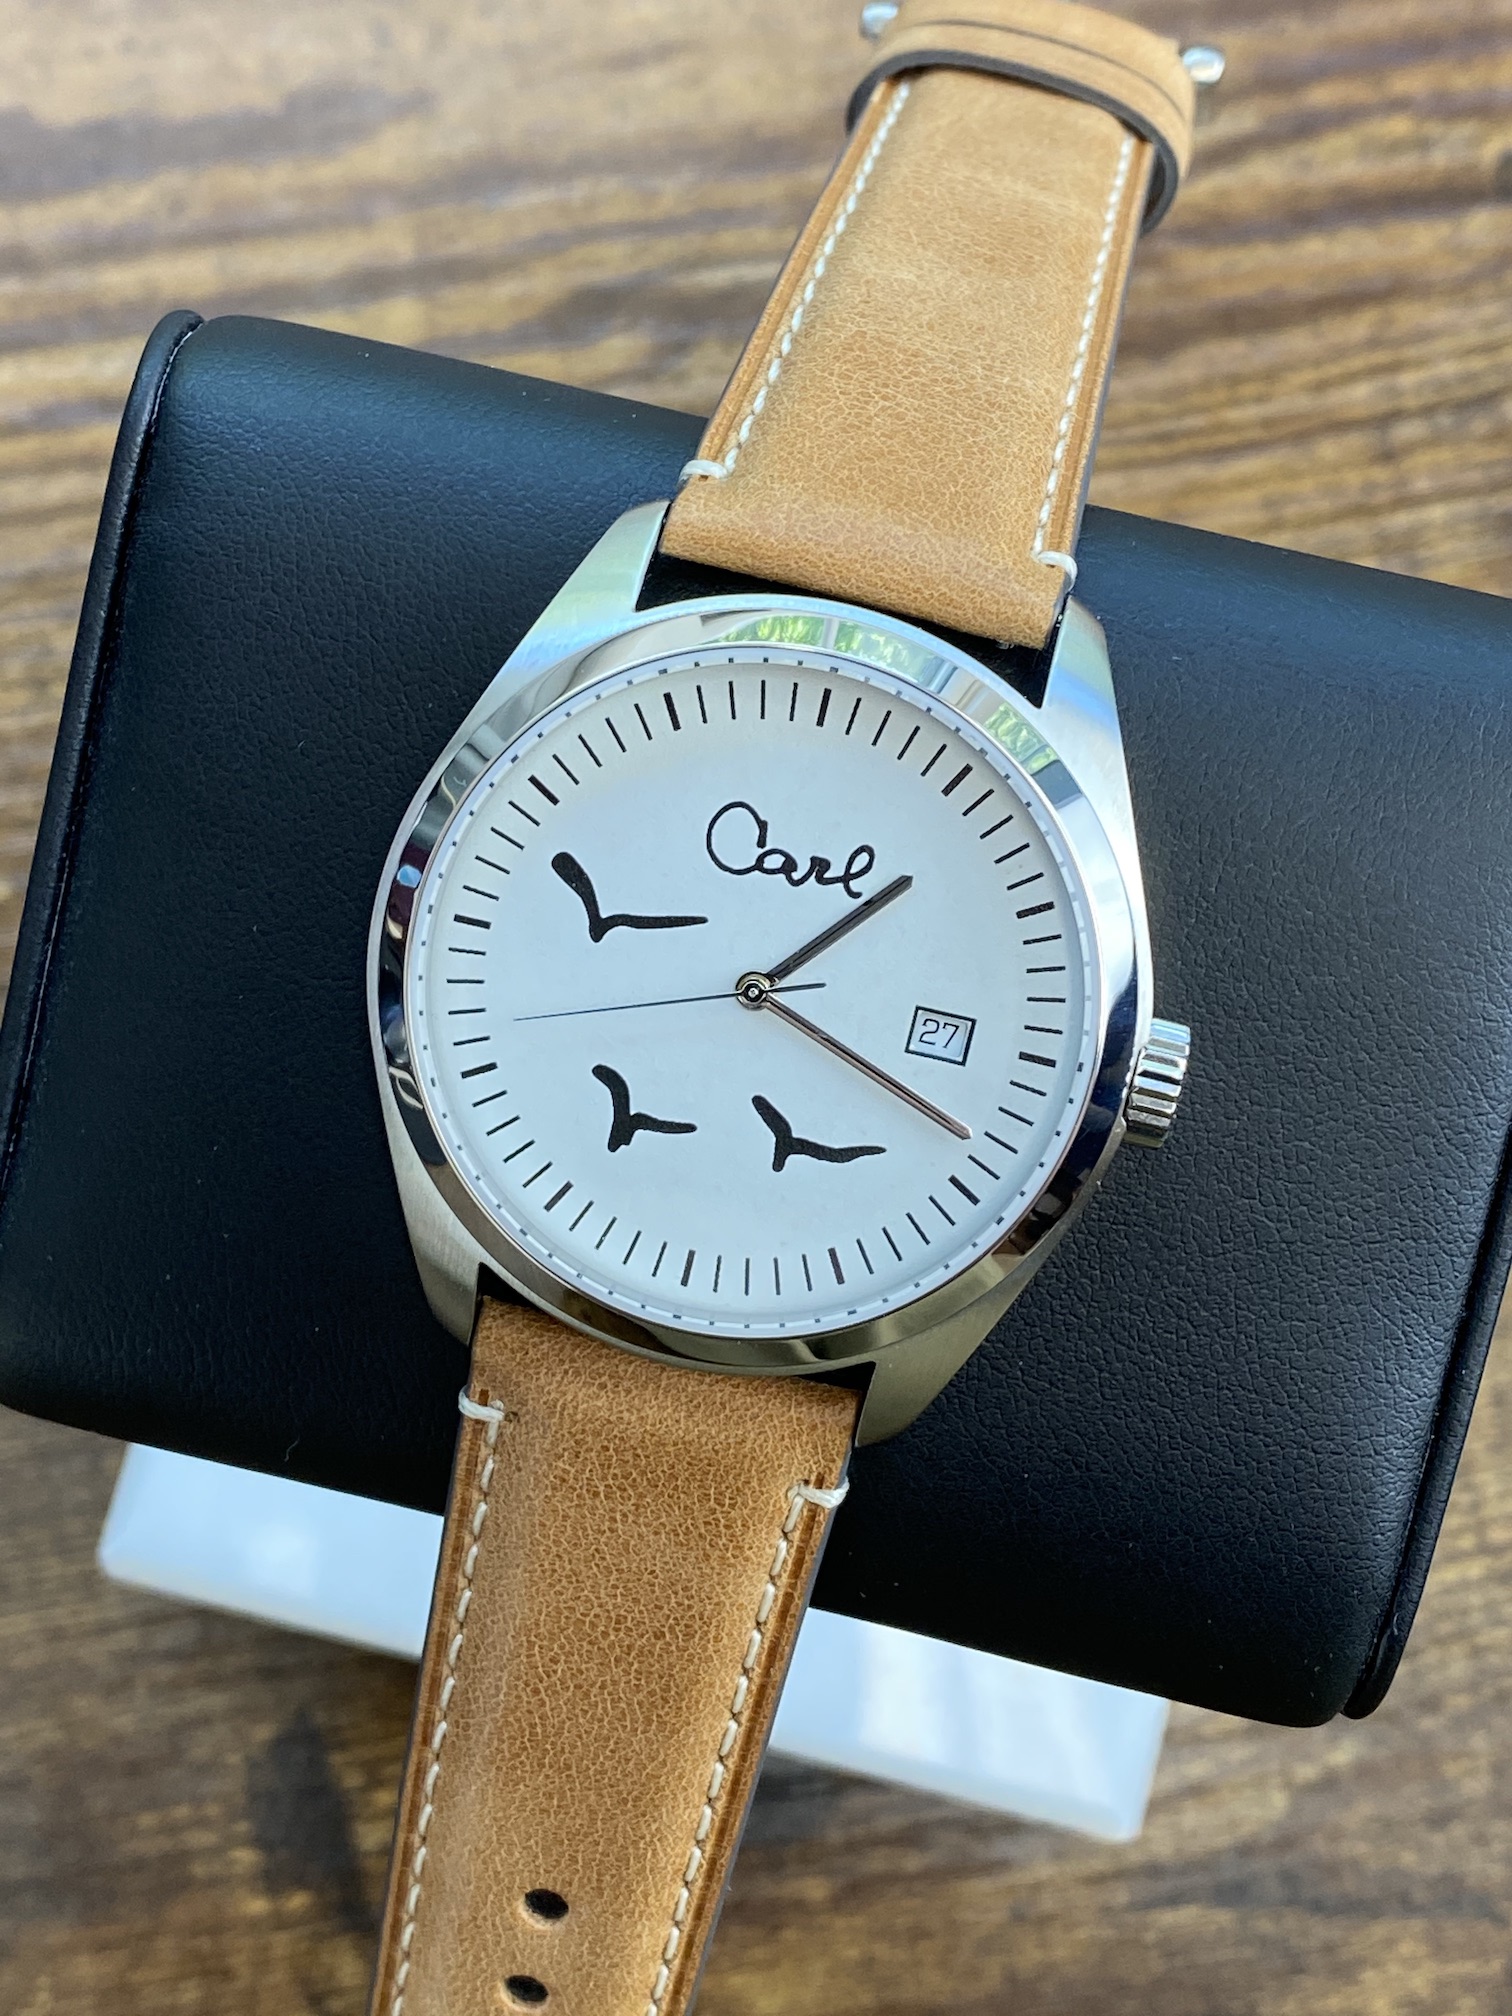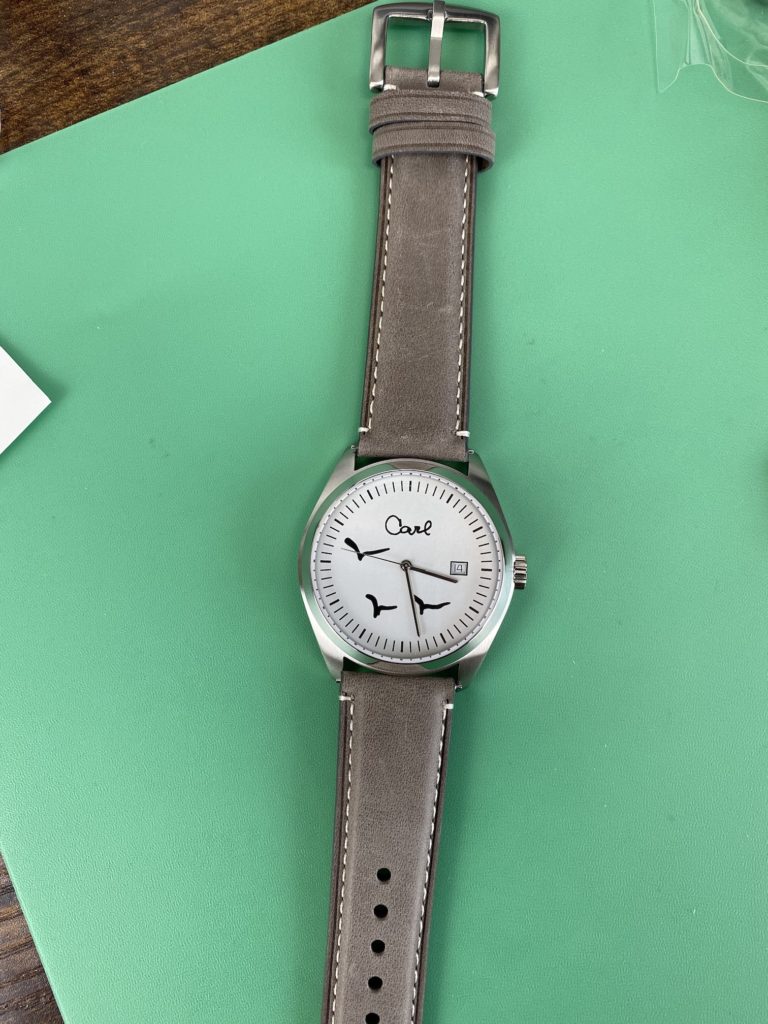


Recently, I completed a very personal watch for a client. I documented the process in order to create a condensed tutorial on making a custom watch, from making the dial to attaching the case back. As part of showing a watch build beginning to end, I include a variety of pictures with brief commentary, but the video has the details and tips along the way. Every build is different, and I really enjoyed this project.
If you are interested in purchasing a custom watch, visit my Custom Watches page.
Timeline:
The customer had been working with another maker and it was not going well. The case was not as expected and the dial had a cutout at center, a bad surprise. So, that path ended and I was contacted by the customer via my Instagram to see if I could make this surprise gift happen in fast fashion.
I don’t always take on projects like this, but I really connected with the story and the person and it was just the right project for me at the moment and off we went. They also decided they wanted a date.
Since the customer was looking to keep costs down, we went with a waterslide decal for the dial printing, as opposed to pad printing. You can learn more about these options in my Making Custom Dials section.
Typically, I start with a bare metal dial blank. If it was a pre-used/printed dial, I strip any paint, polish, then re-coat with a clean metal primer and whatever base color the design needs. I do not show that process here, but it is the first step.
For this dial, I was given pixel-based pictures of the signature and birds, which I had to extract from the pictures, vectorize, and adjust for the dial size. I use software such as Graphic, Affinity Designer, and a free online vectorizing service to do that sort of work. Once I have any provided elements ready, I create the dial design in Graphic for macOS.
Once the dial is designed I print on regular paper to test out hand styles and on decal paper to apply to the painted dial.
When I build custom watches under my Ten Six Watches brand, I usually put the logo on the dial, either applied or printed. But once in a while, depending on the project, I will work the logo into the overall design in another way. The significance of this watch is the signature at 12 o’clock. And with the birds and date…not much room is left for a logo dial side. Plus, this watch has an elegant simplicity that is not worth altering.
In my Glass Series, I place the logo on the movement, and I decided to take the same route here and put the logo on the rotor, since the watch has an exhibition case back. Due to the available space, I placed the 10/6 to the right side of the hat (usually it is underneath). Although I was not sure if I was going to even include the Ten Six at first, I really like how it turned out in this arrangement.
The great thing about a simple design in a case with a combo of polished and brushed surfaces is the versatility. We were thinking a brown strap with white stitching, but it looked great on a variety of straps. I particularly like the grey leather. In the end, the light tan leather was the choice.

Here are a few macro shots. Custom watch builds such as this look quite good to the eye. A variety of characteristics and quirks are more evident with a macro lens, revealing handmade details. What someone might perceive as an imperfection is a signature of a one-off custom watch.