Customizing Watch Dials with Waterslide Decals
Testing processes and materials is important when making dials and when customizing watch dials with waterslide decals. In a previous post, I shared my series of tests for figuring out a consistent process for applying waterslide decals to dials, testing color prints, how a variety of dial components handled the process, and if applying multiple layers of decals provided any visual benefit.
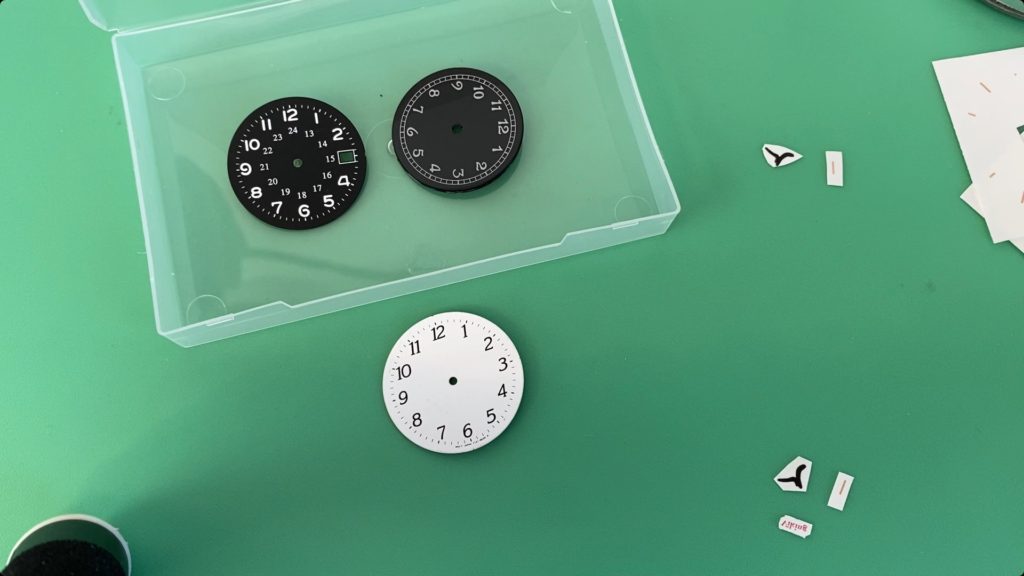
What I wanted to test further was how well different types of decal paper perform on glossy and matte dials, and what adhesive processes or glues work best. The purpose being to apply a logo, line of text, or similar customization to an otherwise complete or pre-made dial.
I tested the following five combinations using both my process and the Sunnyscopa process, for a total of 10 tests. Sunnyscopa offers a Type A paper intended for glossy non-porous surfaces (glass, ceramic, etc.) and a Type B paper for porous surfaces (wood, paint, plastics, etc.) Sunnyscopa seems to be moving toward a multi-purpose paper that comes in varying degrees of thickness, which I have not tested yet.
- Glossy white dial, Type A
- Glossy white dial, Type B
- Matte black dial, Type A
- Matte black dial, Type B
- Glossy black dial, Type B
My Process
- Apply Micro Set to dial surface (optional)
- Soak decal in water for 30-60 seconds
- Apply decal to dial surface
- Apply Micro Set on decal surface
- Dry for 10-15 minutes
- Apply Micro Sol to decal surface
- Dry for 10-15 minutes
- Bake in oven for 20 minutes at 200-225f
- Let dial cool
- Carefully remove decal plastic
- Clean with water
Sunnyscopa Process
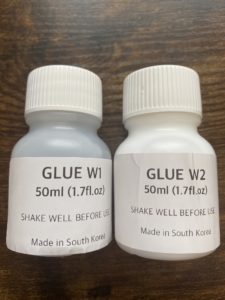
- Apply glue to dial (Clear W1 for Type A, Milky W2 for Type B)
- Soak decal in water for 30-60 seconds
- Apply decal to dial surface
- Press decal to remove excess glue and bubbles
- Bake in oven for 15 minutes at 150f (Could use hair dryer for 3-5 minutes)
- Let dial cool
- Carefully remove decal plastic
- Clean with water
- Bake in oven for 10-15 minutes at 100-150f (optional)
Results & Recommendations
- Glossy Dial Winner: Type B with my process (Micro Set & Micro Sol).
- Glossy Dial Runner-up: Type A with Sunnyscopa W1 glue. This would work really well for a design the full size of the dial.
- Matte Dial Winner: Type A or B my process. Depending on the exact surface, one or the other might work a little better.
- Do not use either Sunnyscopa glue on a matte dial.
Products Used (Affiliate Links)
- Printer (Brother HL-L3210CW): https://amzn.to/3cCSGYj
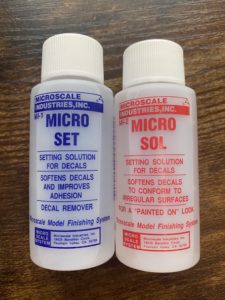
- Micro Set & Micro Sol: https://amzn.to/3krV0Cm
- Sunnyscopa Waterslide Decal Paper: https://amzn.to/3yfWCHa
- Tweezer Set: https://amzn.to/2HnHDVH
If you want to get Type A or B paper specifically, you will have to order directly from Sunnyscopa. The Amazon link is to their newer decal paper which is based on thickness, from what I can tell. I need to test it as well.
Test Details
- Glossy white dial, Type A, my process: I’ve always had adhesion problems when using Type A paper on any surface using Micro Set and Micro Sol. Type A paper really requires glue.
- Glossy white dial, Type B, my process: Type B paper with Micro Set and Micro Sol has always given me the most consistent results regardless of surface. It performed well on the glossy dial and cleaned up the best with just water.
- Glossy white dial, Type A, Sunnyscopa process: The transfer worked really well and cleaned up ok, with only a very faint outline of the decal paper. This combination would work very well for an entire dial design the diameter of the dial, rendering the decal outline irrelevant.
- Glossy white dial, Type B, Sunnyscopa process: Transfer worked fine, but no way to remove the residue/glue without damaging the design or the dial.
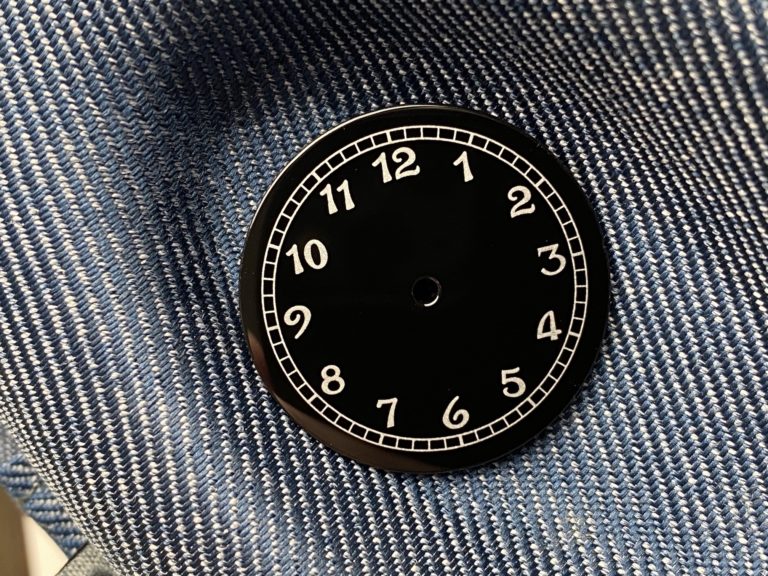
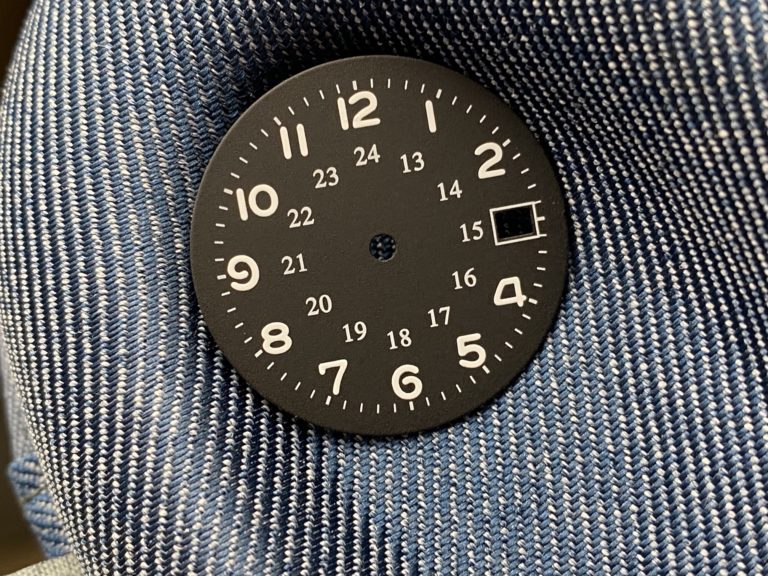
- Matte black dial, Type A, my process: Transferred surprisingly well, perhaps the best I’ve had with Type A paper. It did leave a faint outline of the decal, but cleaned up ok with water. My concern is that the Type A paper seemed to impact the existing dial printing some, whereas Type B didn’t. Still, it’s a potential option for a decal on a matte surface.
- Matte black dial, Type B, my process: The transfer didn’t work as well as my past tests using Type B on matte dials, but that may have been my fault with the amount of Micro Set or Micro Sol or the fidgeting I did with the decal. The only other difference is that this dial was black as opposed to white dials I’ve used in the past. But transfer usually works well and cleans up fine with water.
- Matte black dial, Type A, Sunnyscopa process: Transfer didn’t really work at all, which is no surprise since the Type A paper and glue is meant for a glossy surface, not matte. The glue will not clean up with just water and very easy to damage the dial.
- Matte black dial, Type B, Sunnyscopa process: Transfer works fine as expected given the surface, but there is no way to clean up the glue/residue without damaging the design or dial.
- Glossy black dial, Type B, my process: Transfer worked well and cleans up quite well with just water, though it can take some time and patience. Just be careful with the tools and removing the paper and cleaning, as a gloss surface will show every imperfection and the tiniest of scratches.
- Glossy black dial, Type B, Sunnyscopa process: Don’t do it.
Final Thoughts
Hopefully this detailed battery of tests will provide helpful context and insight that may help others in their tinkering, modding, and making.
Testing all of these different aspects of this cost-effective way of making custom dials with decals takes a lot of time, not to mention all the recording, editing, and writing. If you enjoy my content, please subscribe here, on my channel, and support my efforts.

Preciate the information, super helpful. Going to use your affiliate links
Awesome job brother – very helpful. I figured an LED or Laser will only work with the waster transfers paper.
cool, glad you found it helpful!
Any thoughts on trying this on a bare metal dial? I’m going for a gilt dial and am working through the process of getting a sharp enough image to try. going to try your process for a glossy dial, bake, lacquer, and then lume.
It’ll probably work similarly on a blank high-polished metal dial to that of a standard glossy painted dial. It might look ok with the entire design across the whole dial so edges aren’t a problem. Let me know how it goes.
It’s proving to be a struggle. Can’t quite get a clear enough image printed on to the paper. I made the front larger and am going to do the same with the second indices but overall, rough so far.