GMT Blue
I have really been looking forward to getting this post published and giving more detail on my custom build for a client called GMT Blue. For those interested or curious, I provide quite a bit of detail about the manufacturing process and sourcing of watch parts for an independent maker.
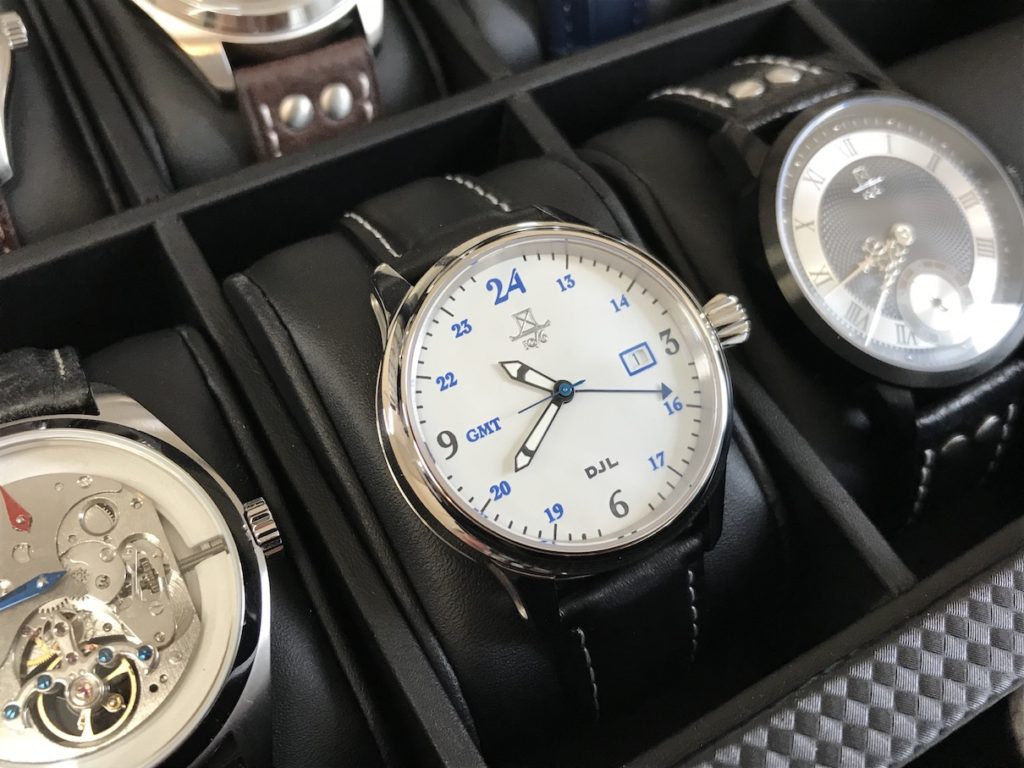
The Specs
- Model: GMT Blue (with custom initials)
- Diameter: 40mm
- Height: 11.5mm
- Weight: ? (forgot to weight it, but it is fairly light)
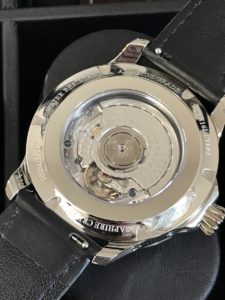
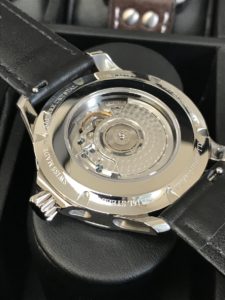
- Case: 316L stainless steel, screw-down exhibition case back
- Movement: ETA 2893-2, Elabore grade
- Lume: Luminova LO 02, hour and minute hands
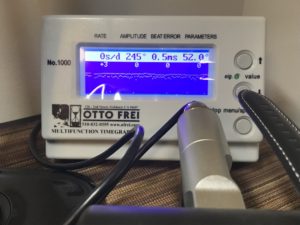
- Accuracy: +-7 seconds/day, 20s max variation
- Crystal: Sapphire, Flat
- Water Resistance: 100m/300ft
- Strap: 20mm, two included (black w/white stitching and blue alligator)
- Price: $1,200
Background
My exploration of watchmaking has been a great adventure so far, but this was the start of something new.
I have made a variety of custom watches without dials as part of my Glass Series (below-left) and other builds with pre-made dials as part of my Wonderland Series (below-center), but this project required me to make a custom dial from scratch and I documented much of the process.
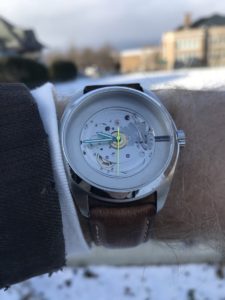
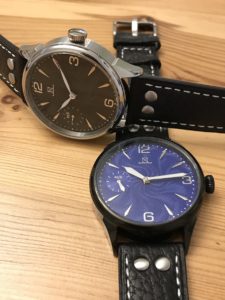
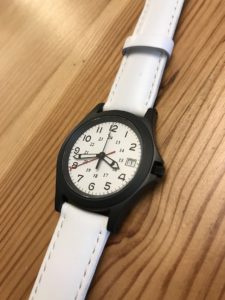
After building the Glass Series and GMT Two, I mentioned my foray into watchmaking as part of a presentation related to my actual profession. Someone in attendance was a fellow watch enthusiast and after the presentation asked me if I would make them a watch. I agreed because I knew it would push me further and I love learning.
Specification & Design
The customer wanted a GMT watch, Swiss movement, polished case, and generally as high-quality as possible. So, I selected an ETA 2893-2 movement and a mid-size case that characteristically aligns with my brand. Both were sourced from a Swiss-based distributor via eBay.
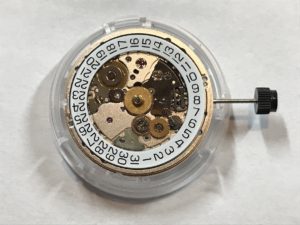
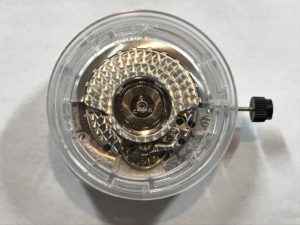
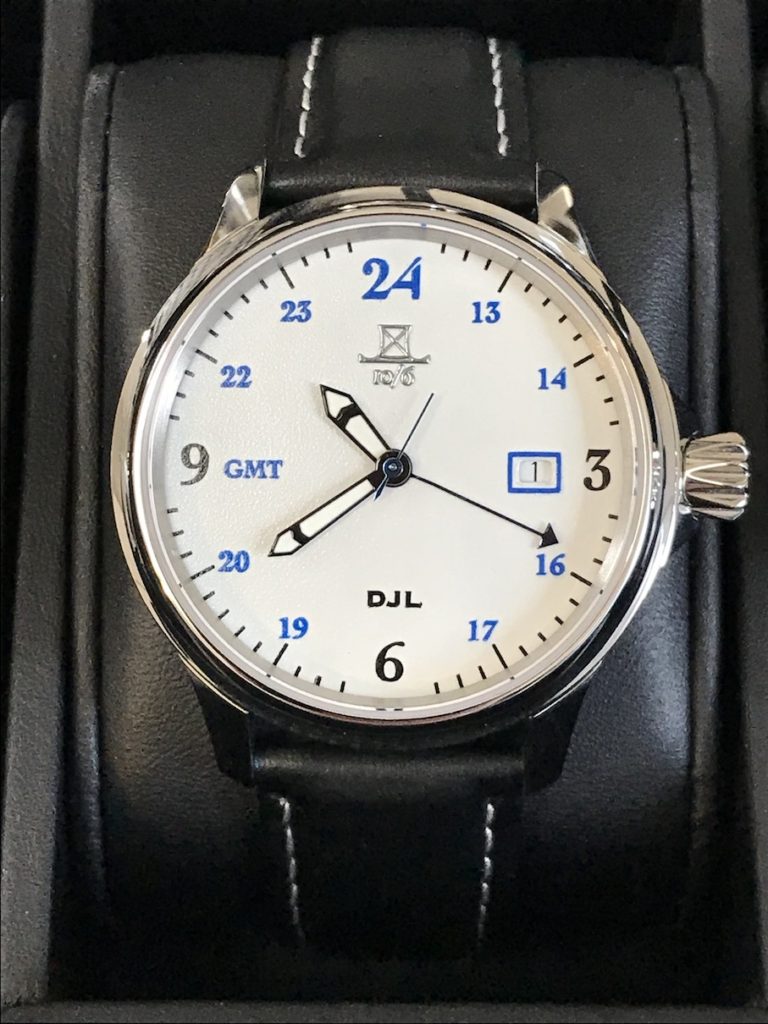
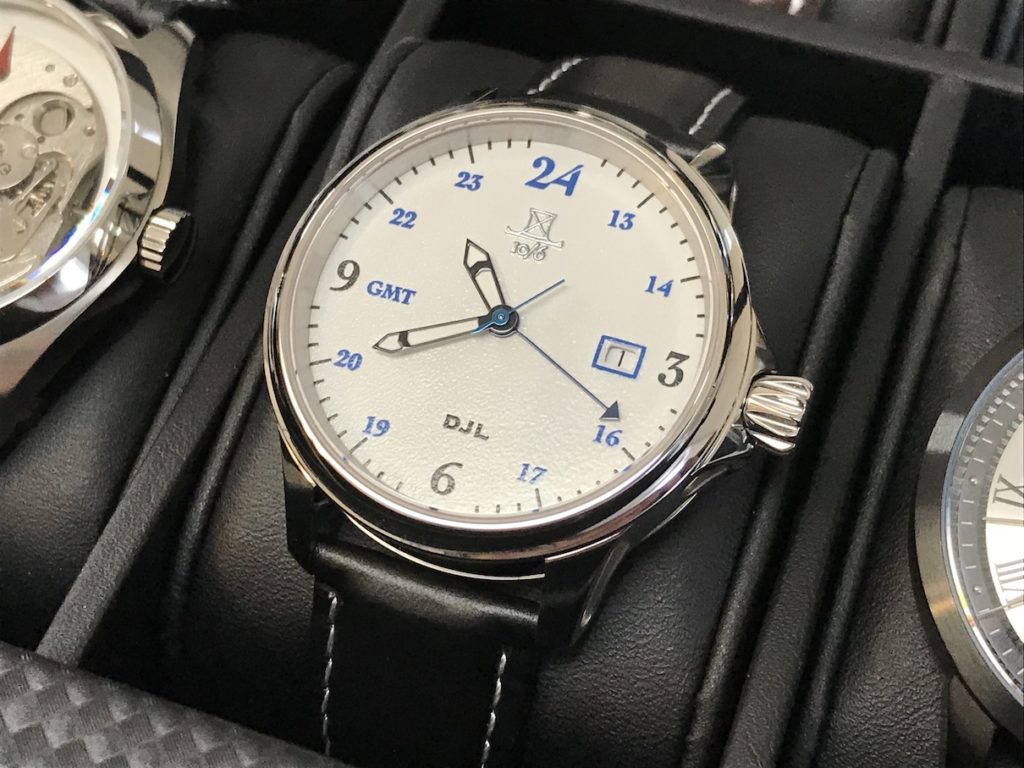
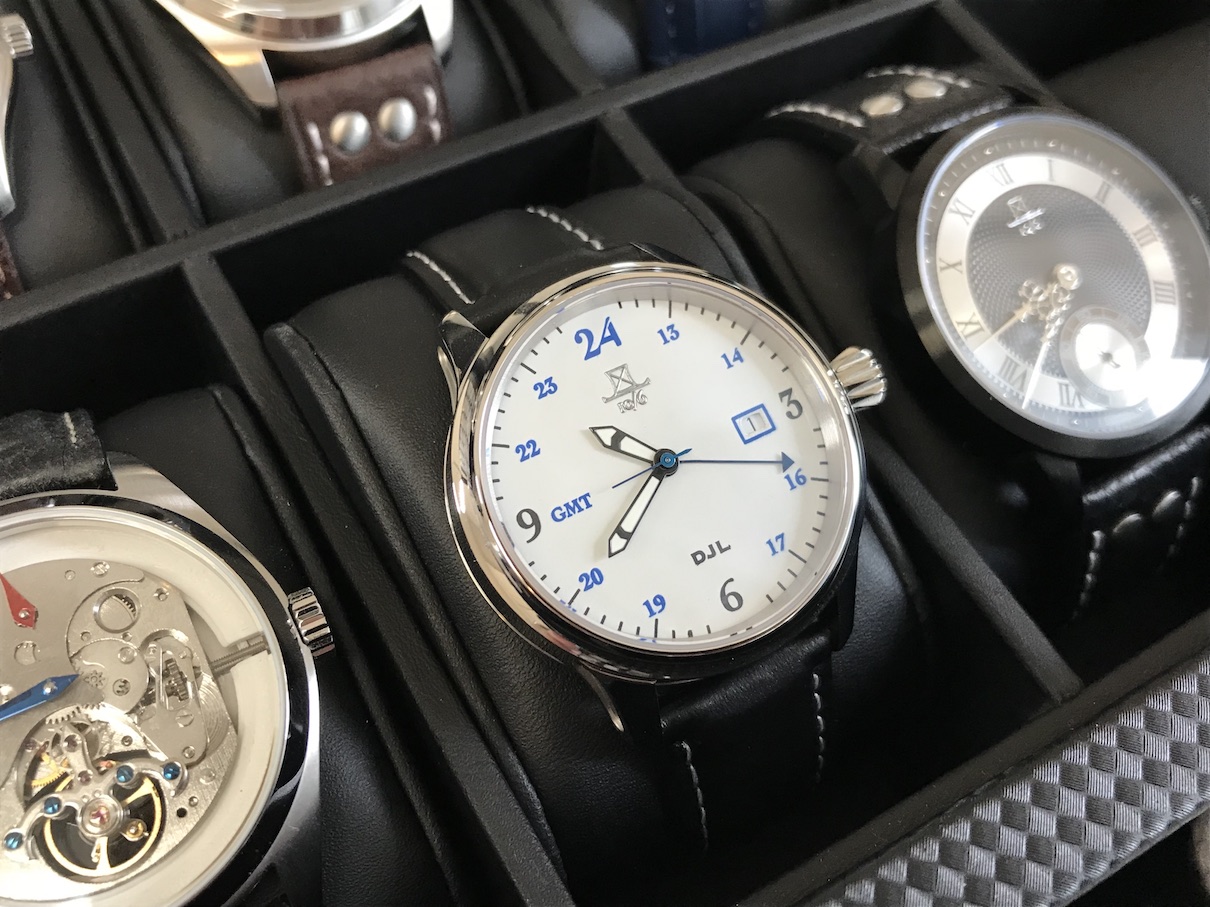
The key features were two-tone print in black and blue, customer initials at 6o’clock, a mix of the 12 and 24 hour tracks, and a “24” at 12o’clock to signify the finite 24 hours available in a day for the GMT hand. I had options of half circles for day/night, but the chosen design was the simplest (top-left).
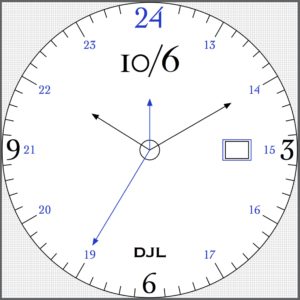
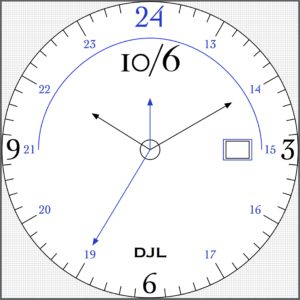
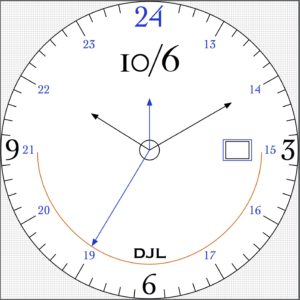
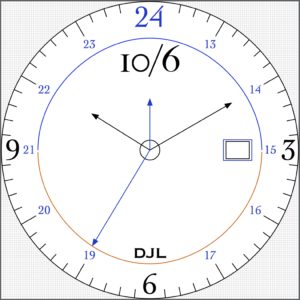
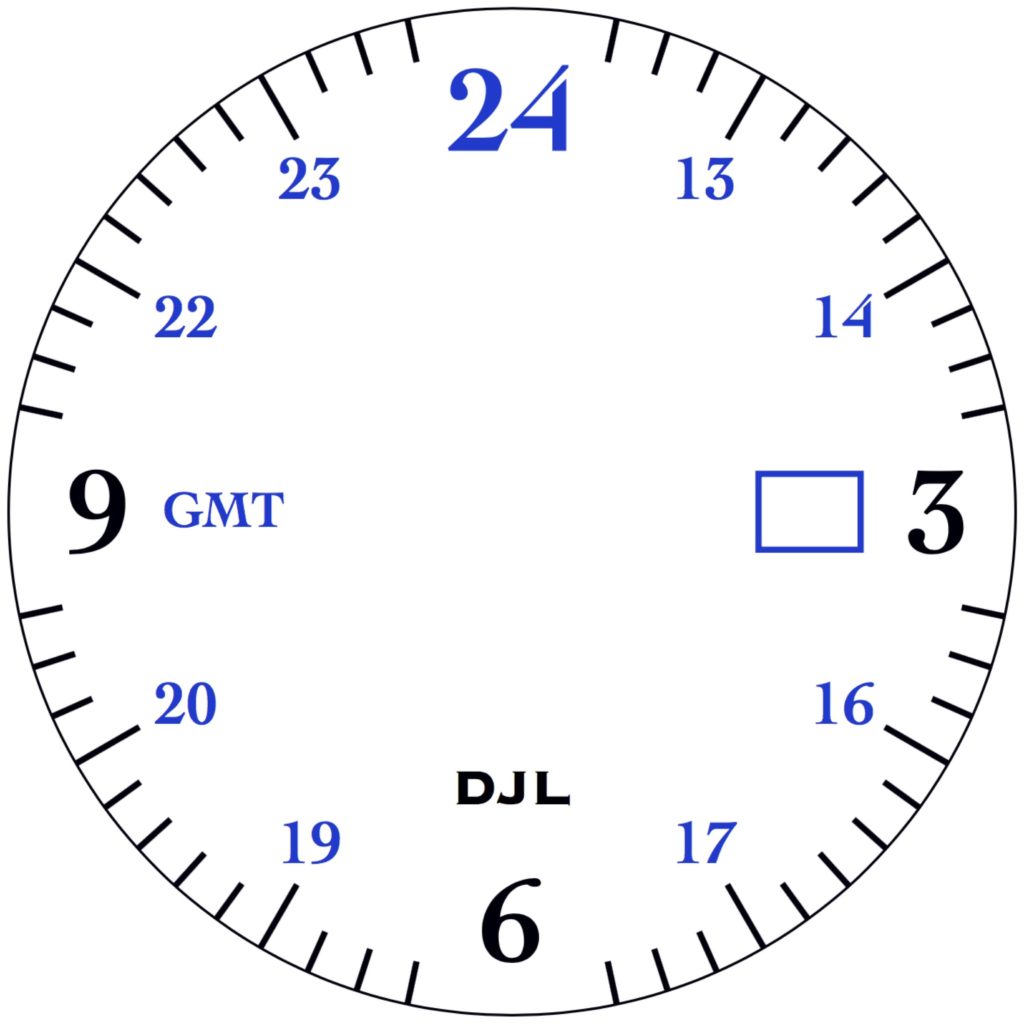
I use a program called Graphic (formerly iDraw) to create my vector images. Graphic is wonderful and a low-cost $30 on the Apple app store. Creating the 2D drawings in a vector format is essential so they can be instantly scaled up or down, and for the printing process, which is discussed further in this post.
Create the Dial
Once the design is final, the process of creating the actual dial can begin. I fully explain this process on my Making Custom Dials page and on my YouTube Channel. The process is something like the following: 1) prep the dial, 2) prime the dial (base color), 3) print first color, 4) print second color, 5) clean up the dial, 6) apply the logo, 7) apply clear-coats.
Prep & Testing
I use both 3d-printed dial blanks and metal blanks in my process for creating watches. For this project, I used 3d prints as test blanks, but the final dial was metal. I use AutoCAD to create 3d designs that can be exported to the STL format for my 3d printer and of course any metal blanks have to be the right diameter and with dial feet that fit the chosen movement. For sourcing metal blanks for one-off builds, it can be cheaper to buy existing dials that are the right size and then remove any existing markers or paint.
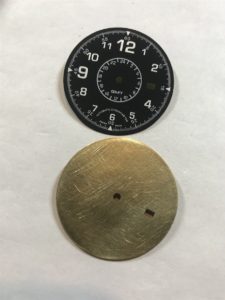
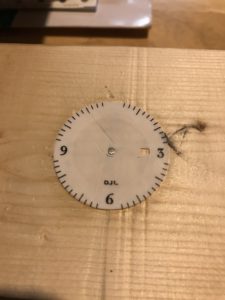
For the base color on this build I used two primers: Rust-Oleum Clean Metal Primer – which is white-ish but with a slight grey tint, and Rust-Oleum Flat White Primer. Unless you want cracking or buckling of the paint, especially around the edges, then follow the directions. Either spray a light layer and wait a day before the next layer or paint layers in relative quick succession with 2-3 minutes between layers. Seriously…if you wait say 10 or 15 minutes between layers it likely won’t turn out well. You either need to spray again when still fairly wet or when completely dry. I spray all layers in quick succession with 2-3 minutes between layers. Emphasis on light layers. It is a marathon, not a sprint.
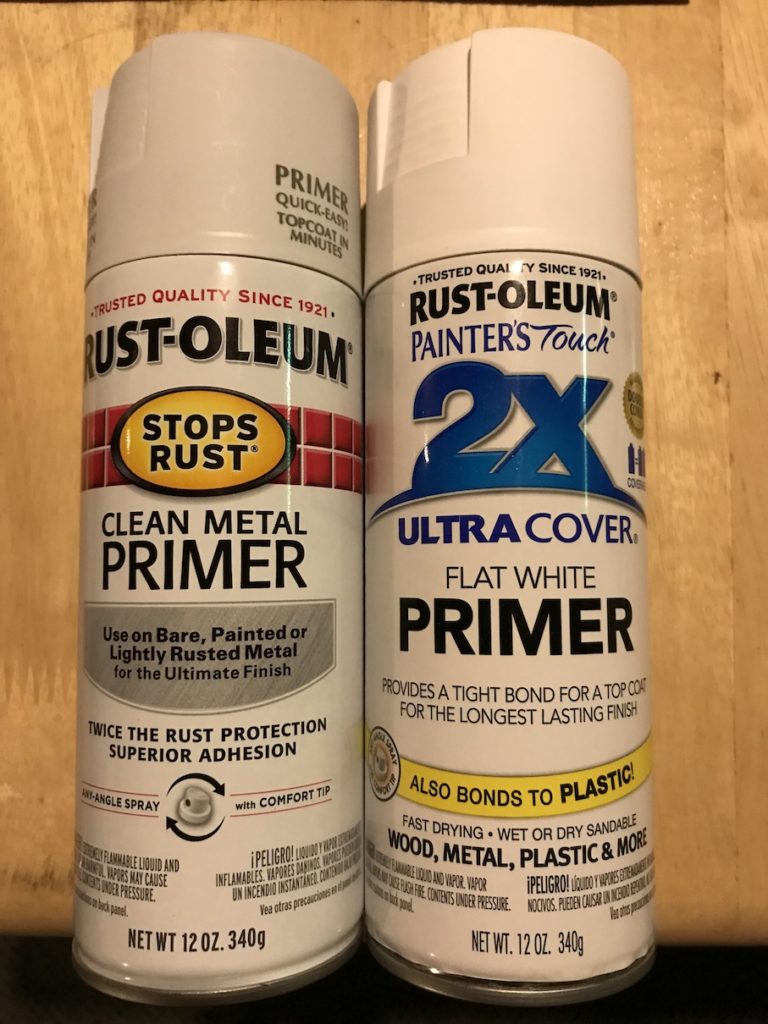
I used two layers of the clean metal primer and two layers of the flat white primer for the final dial. So the entire dial was painted within 10 minutes, but carefully timed between each light layer, and then left to dry.
Make the clichés
Let’s talk pad printing. Again, the process is documented here, but I want to highlight some extras in this post. Proper pad printer requires precision and for that I use vector imaging, laser etching, and much testing.
Each color means a separate etching. This dial had two colors, black and blue, so two etchings were needed. I created the designs in vector format, sent them to my partner in manufacture, laser laser, output. Keep in mind that etching carves the design into the plates so that the voids can be filled with any color of ink and printed.
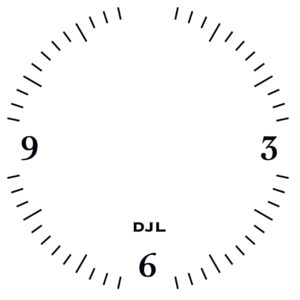
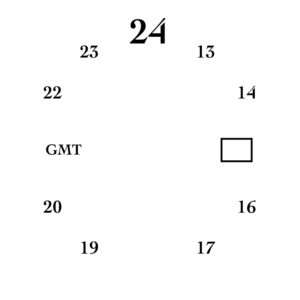
Black (left), Blue (right)
I provided the orientation information given my pad printer setup and a fellow named Michael etched the plates. (The plate shown below is a test plate, not the final plate per the orientation.)
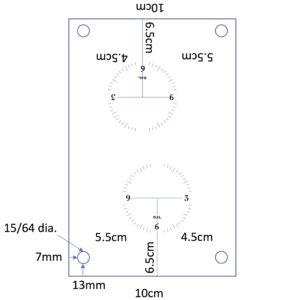
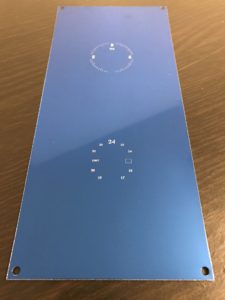
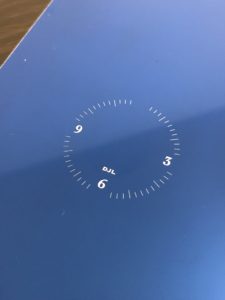

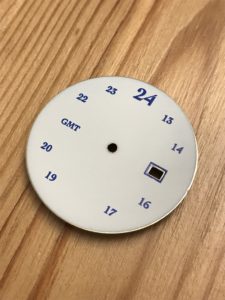
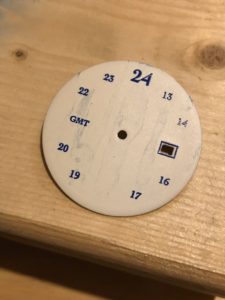
Once the plates are etched, print testing can begin. As shown earlier, I use 3d-printed dials to do some initial testing of the plates and alignment. Once everything is looking fairly good, I start testing on metal dials, with and without primer. If you don’t allow plenty of time for a painted dial to fully dry, you will get smudging on the surface in the transfer from the plate to the dial via the silicone pad. Smudges can be cleaned, but you want to avoid this with the final dial, though it is not a big deal during testing.
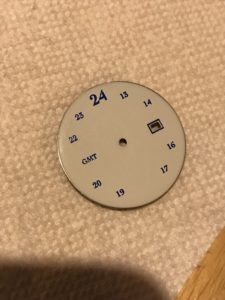
Final Dial
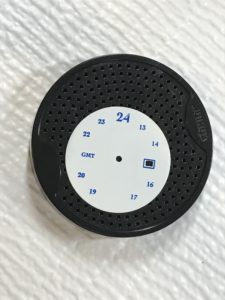
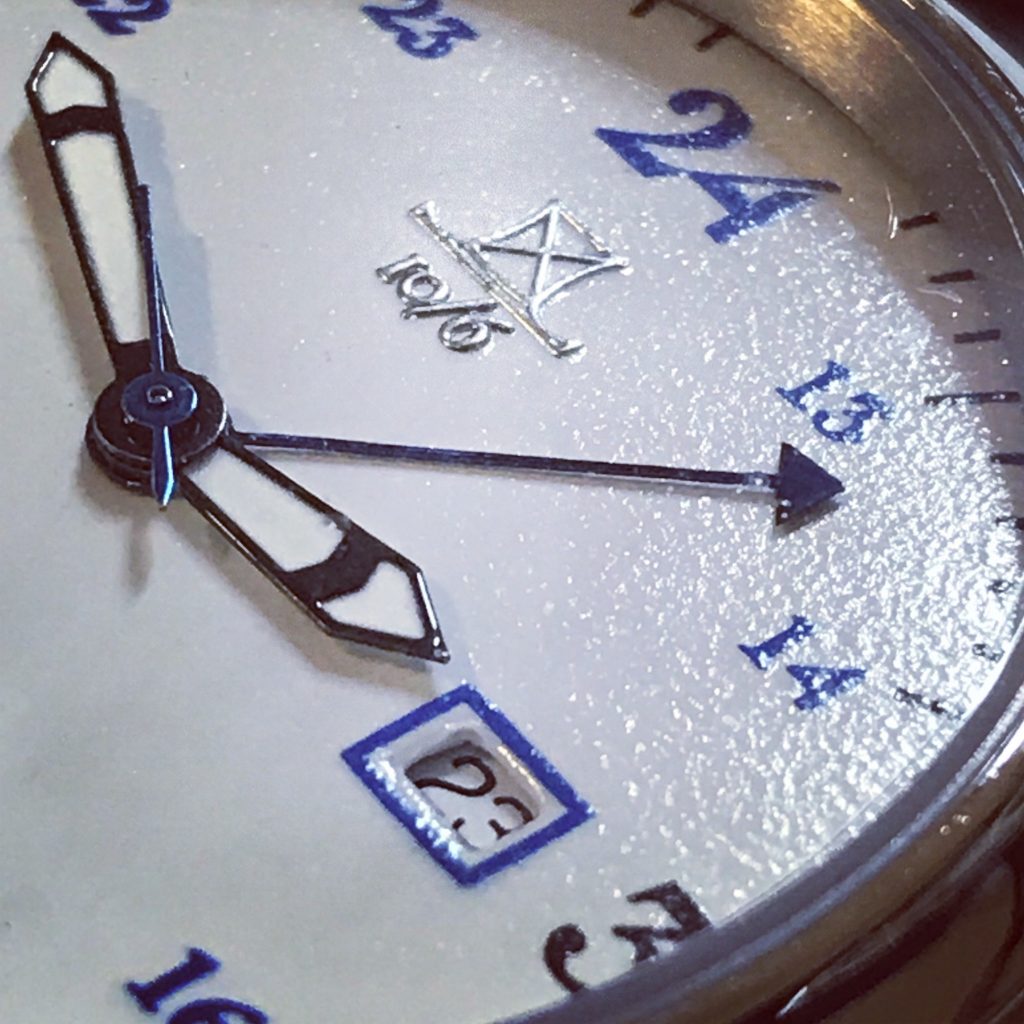
With the testing all done the final dial is made. The following pictures show the steps. First, there is the primed dial with the blue print and then the black print added along with the applied logo. By this point I had settled on a logo for my brand. My logos are made in Hong Kong via a Swiss distributor and I apply them by hand.
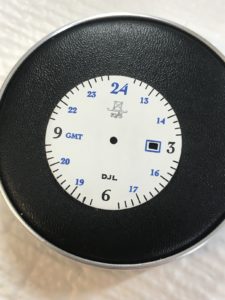
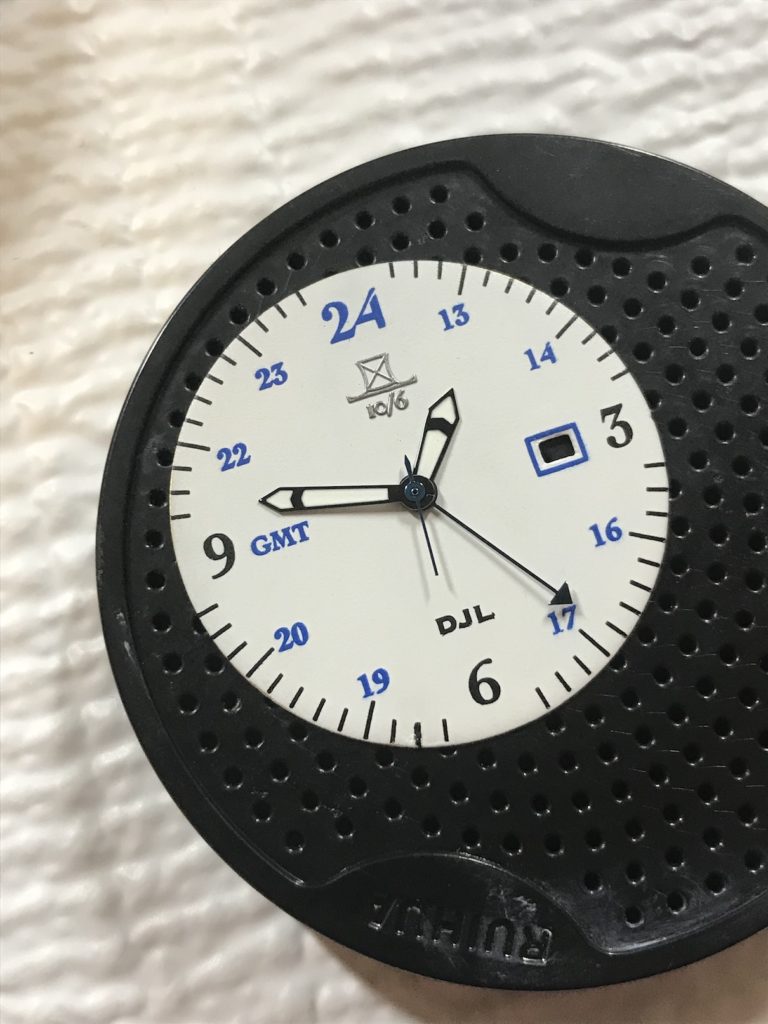
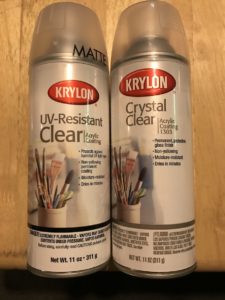
Then, I applied a couple coats of matte UV-resistant clear and a few coats of glossy Crystal clear to achieve the look the client desired in terms of the dial texture. The clear-coats serve several purposes. The pad-printed surface is water resistant anyway, but clear coating helps. The UV-resistant layers also provide some protection against light, so the colors remain vibrant over time. The logo has adhesive to keep it where placed, but a clear coat also ensures it is sealed against the surface (I don’t do this on every build). Finally, they provide the desired texture and help mitigate minor surface variance.
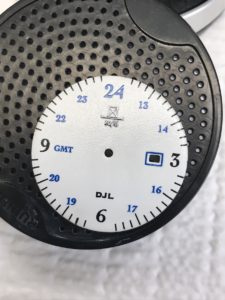
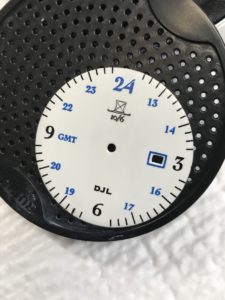
(The plastic is still on the crystal.)
Assembly & Regulation
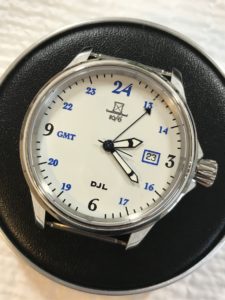
When the dial is all done, I attach it to the movement, set the hands, perform any necessary regulation, cut the stem to length, attach the crown, and case the watch. This movement kept excellent time, well within COSC.
The Watch
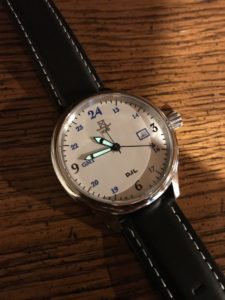
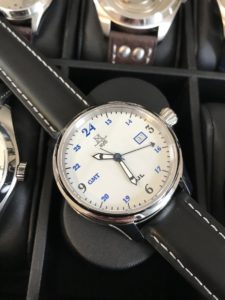
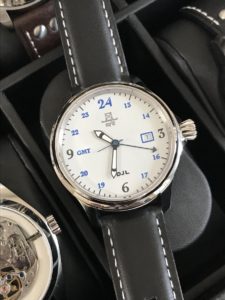
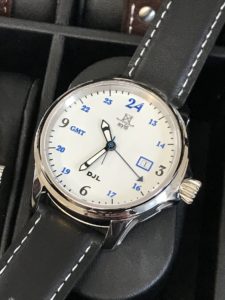
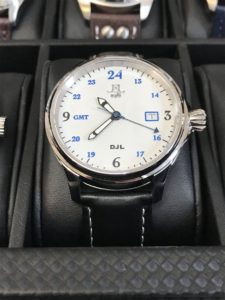
[https://youtu.be/AnGjk69P4y0]To get a good look at the final result, the video is best, but I also want to provide a series of pictures that show characteristics of the watch in different lighting. From the texture of the dial to the blue seconds and GMT hands to the spectacular case. Obviously I am biased, but this watch is wonderful and was a pleasure to build.
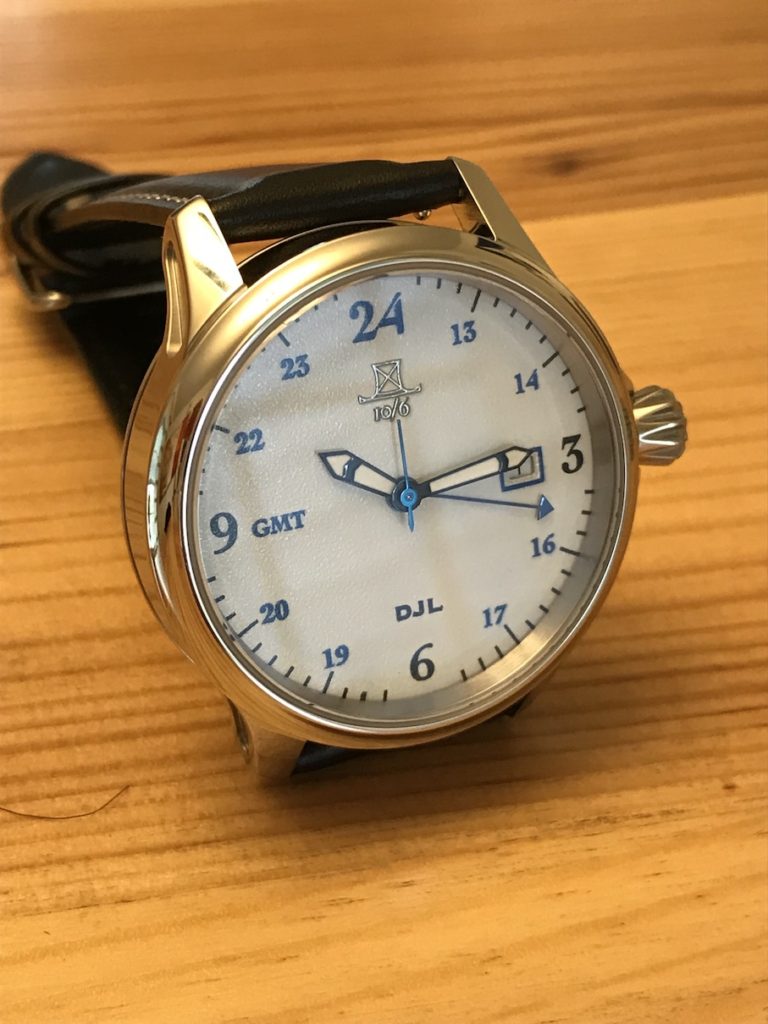
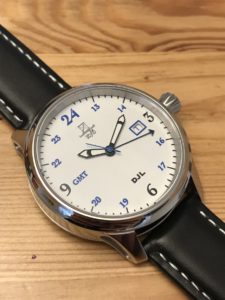
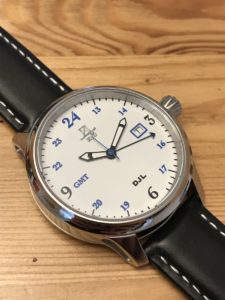
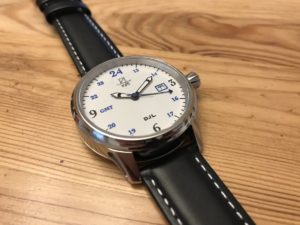
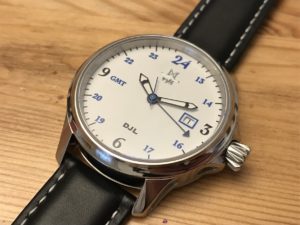
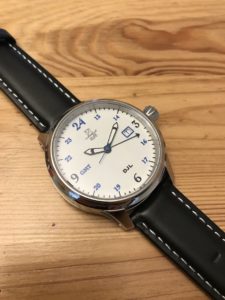
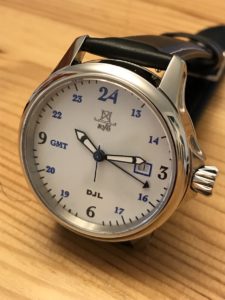
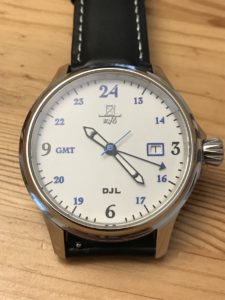
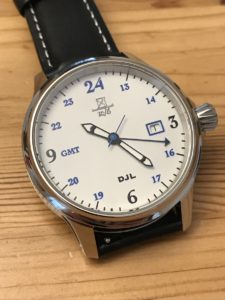
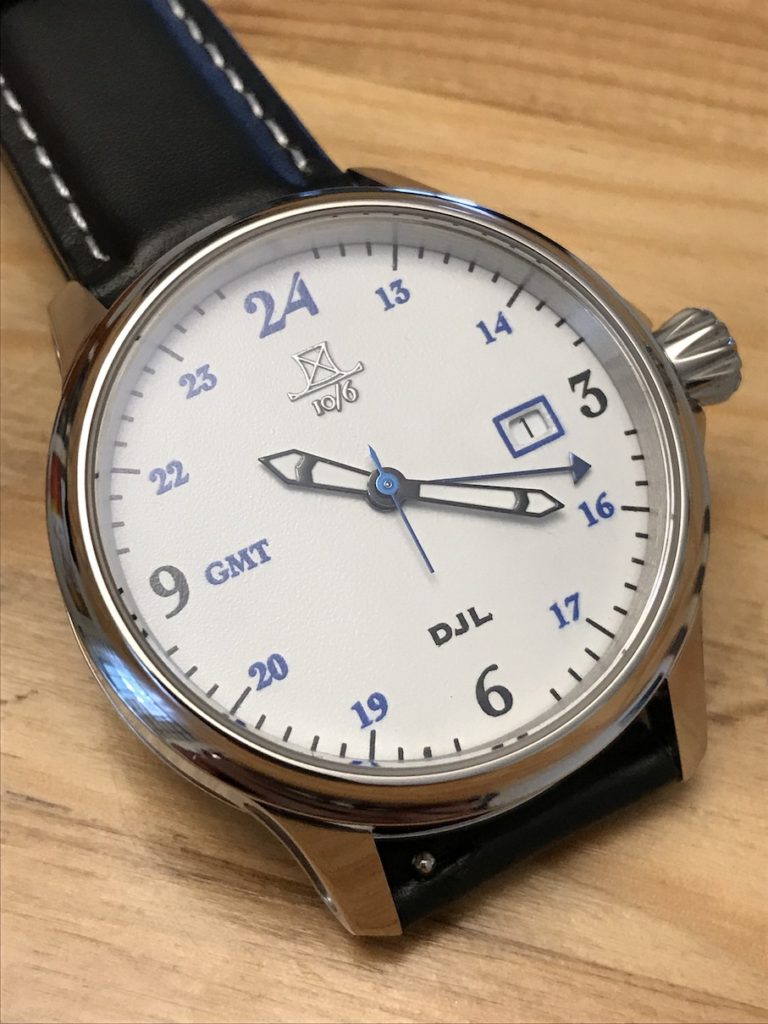
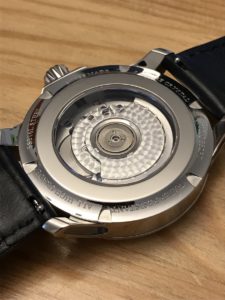
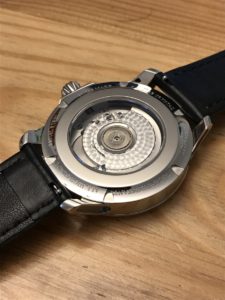
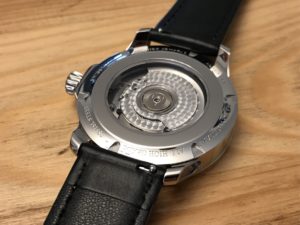
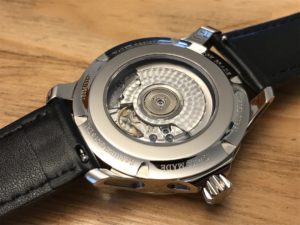
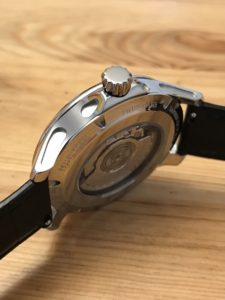
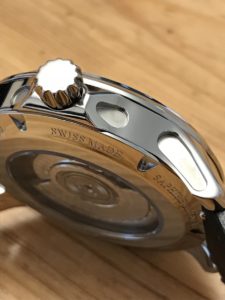
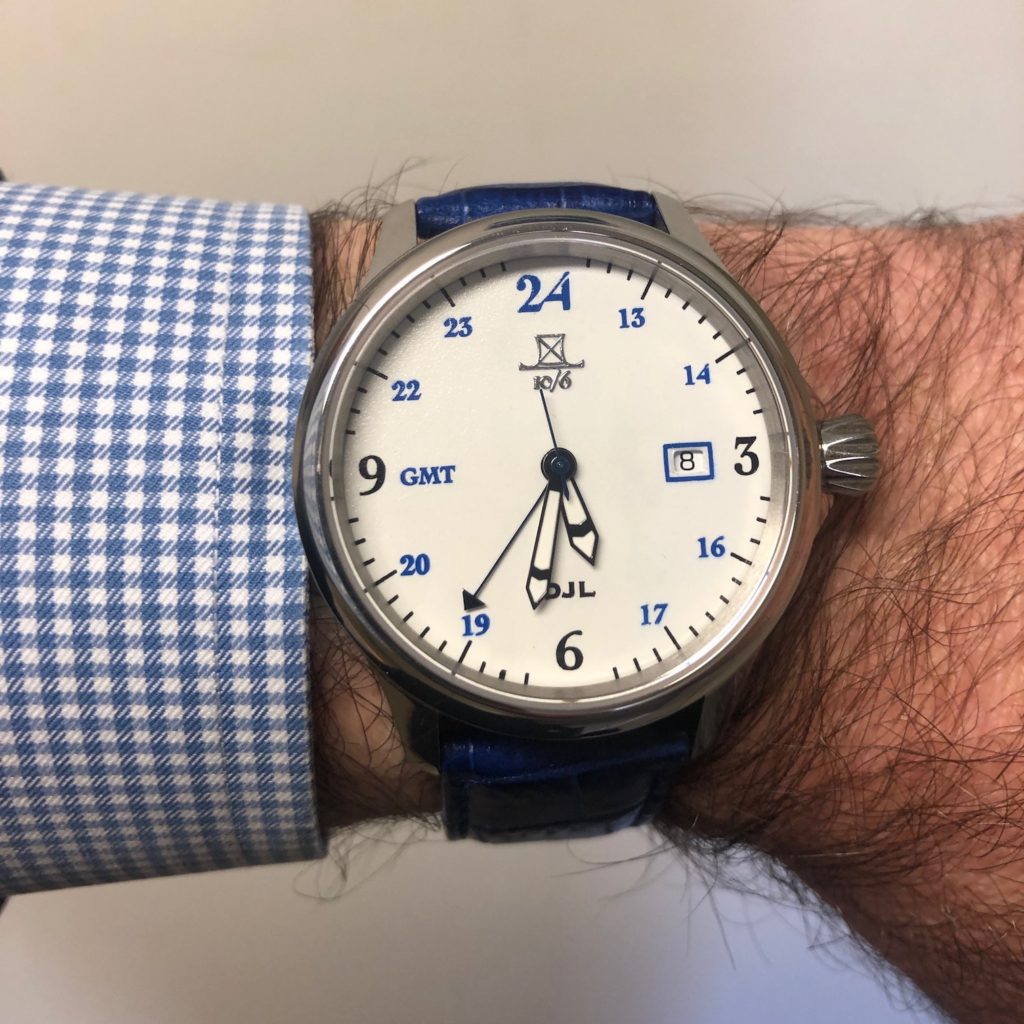
The case is perfectly sized at 40mm diameter and 11.5mm height with a polished surface. It has recesses with sandblasted interiors and a crown that invites interaction.
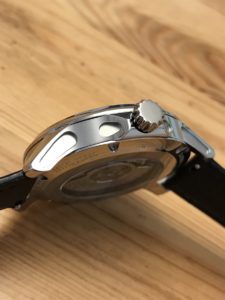
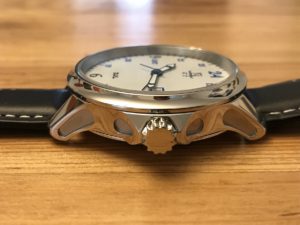
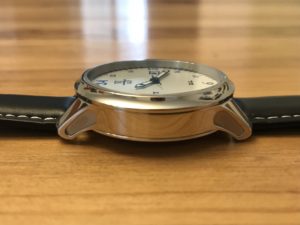
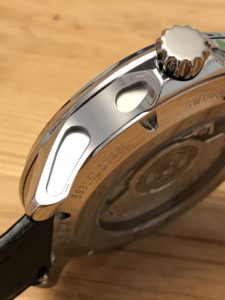
Lume
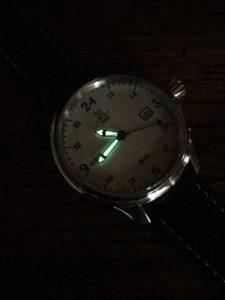
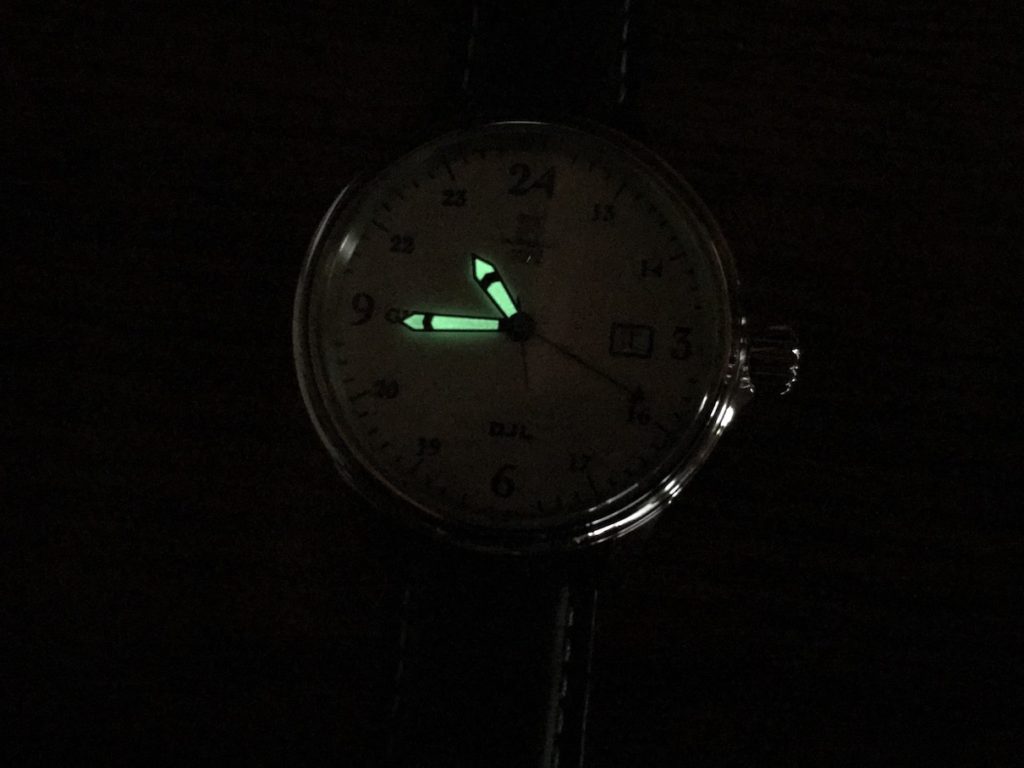
The hour and minute hands are lumed with a moderate green-tint, which is nice when navigating light and dark spaces. The hands are akin to those on GMT Two only longer, and were requested buy the client. The design leans toward dress-style, with an edge, so a subtle touch of lume is suitable.
In the Box & On the Wrist
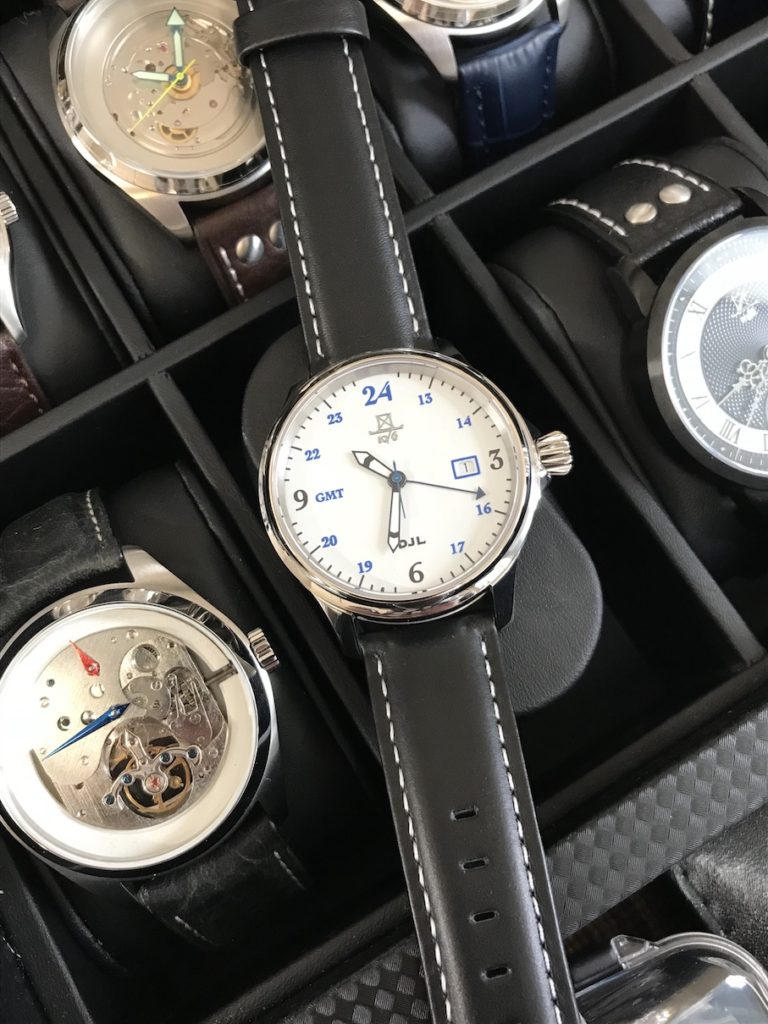
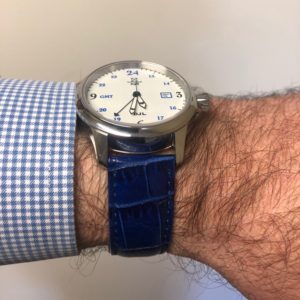
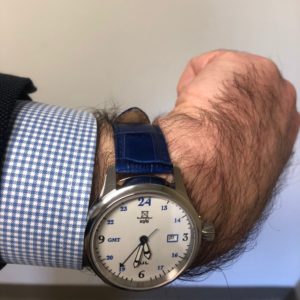
I provided two straps to the customer with this build, a black leather with white stiching and a navy blue leather to match the blue printing with an alligator pattern. Both straps look quite fitting, the watch looking smart in the case and on the wrist.
Happy Customer
I create watches to challenege myself and to provide others with a useful and unique device. I am thankful to have had the opportunity to create this watch and that the customer was patient and supportive through the process. This custom GMT Blue is a special watch in a lot of ways, providing sentiment for both maker and wearer.
This watch is everything I have been looking for as a gift to my son. I have a couple of different ideas for a GMT date watch.
The nicest I’ve seen and unique.